
How to White-Label the Plugin for My Site?
To white-label the plugin for your account, follow the steps below:
Step 1: Sign in to your account.
Step 2: Open the left side menu by clicking the button in the top left corner of the screen. The menu will appear. Click on White Label.
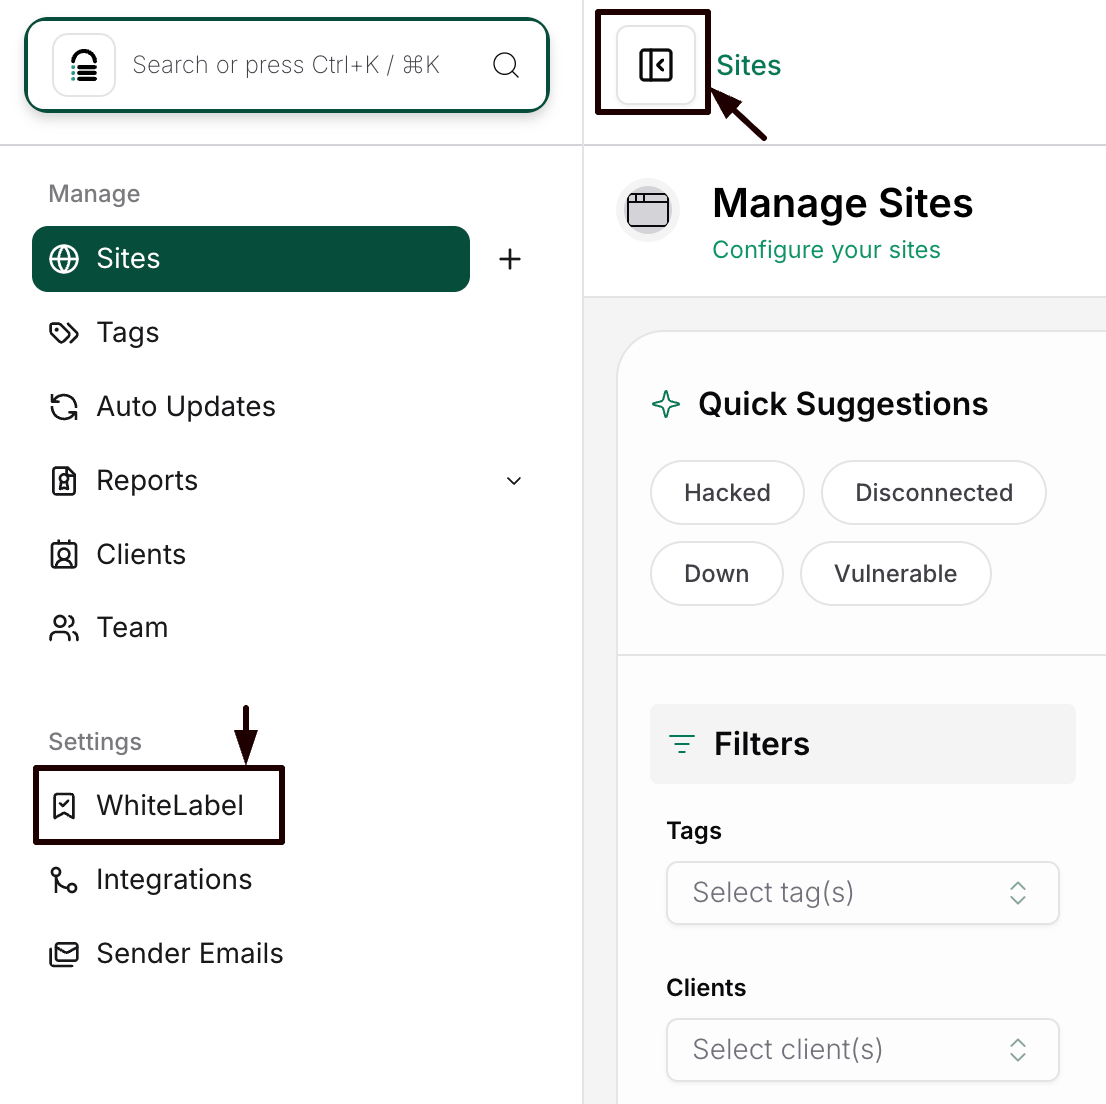
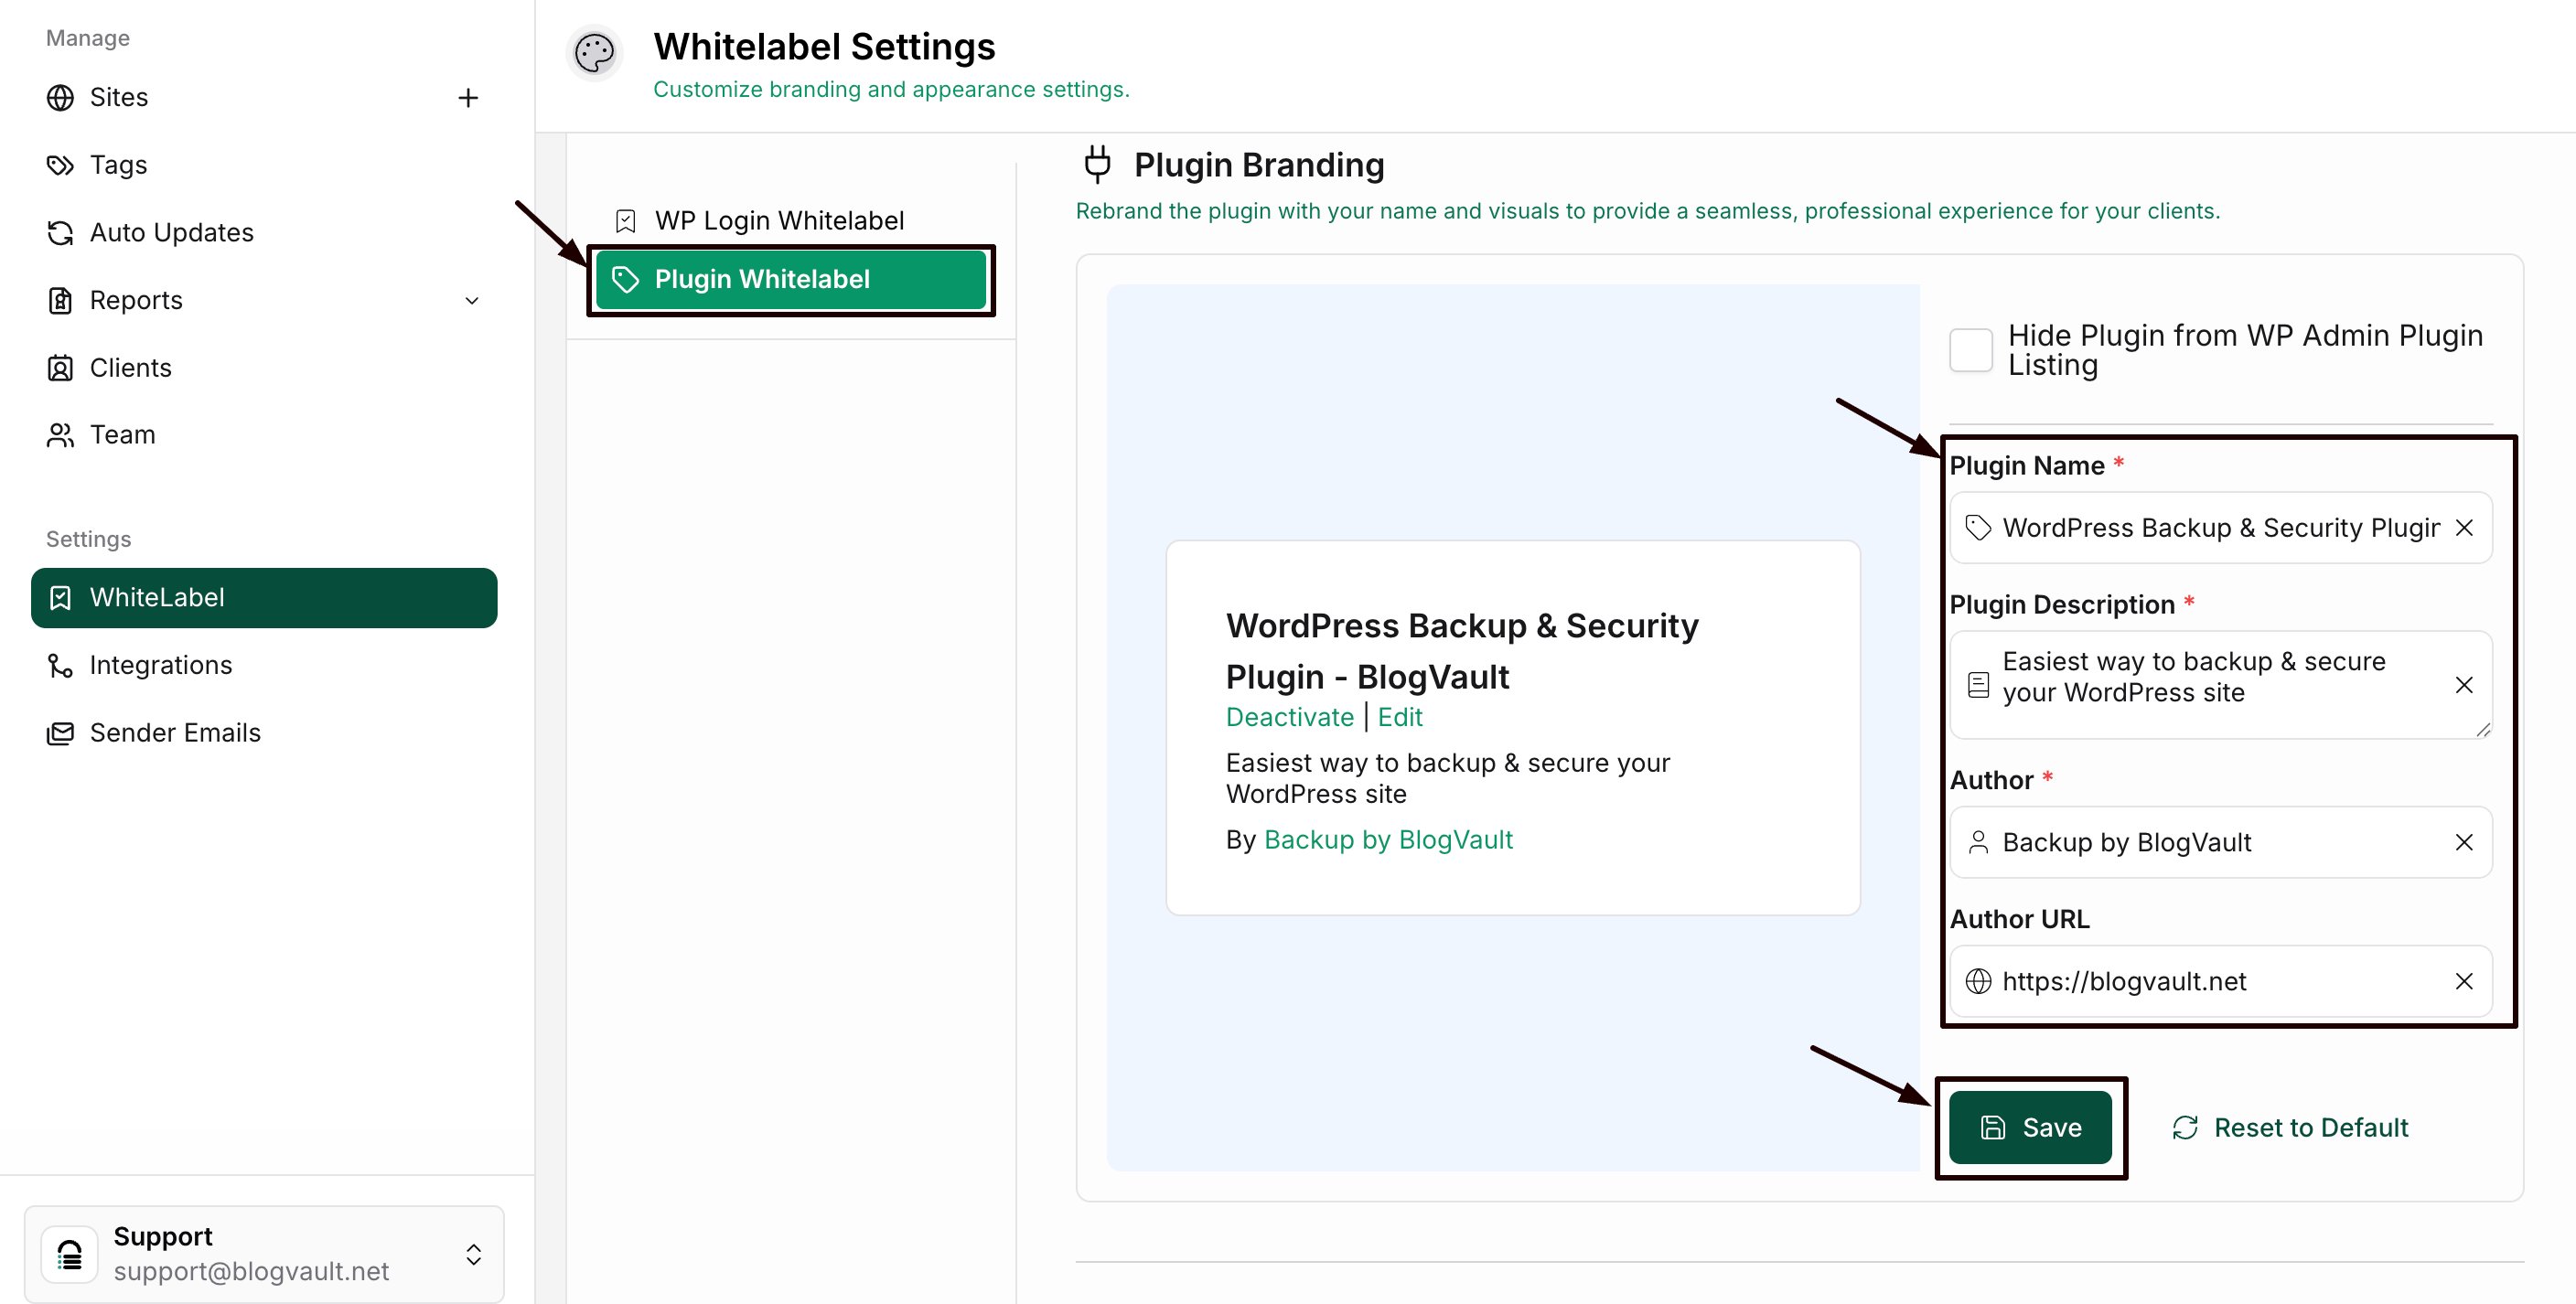
Step 3: It will open the White Label Settings. You can input a new name for the plugin and provide details such as the plugin description, author information, and URL in the provided form
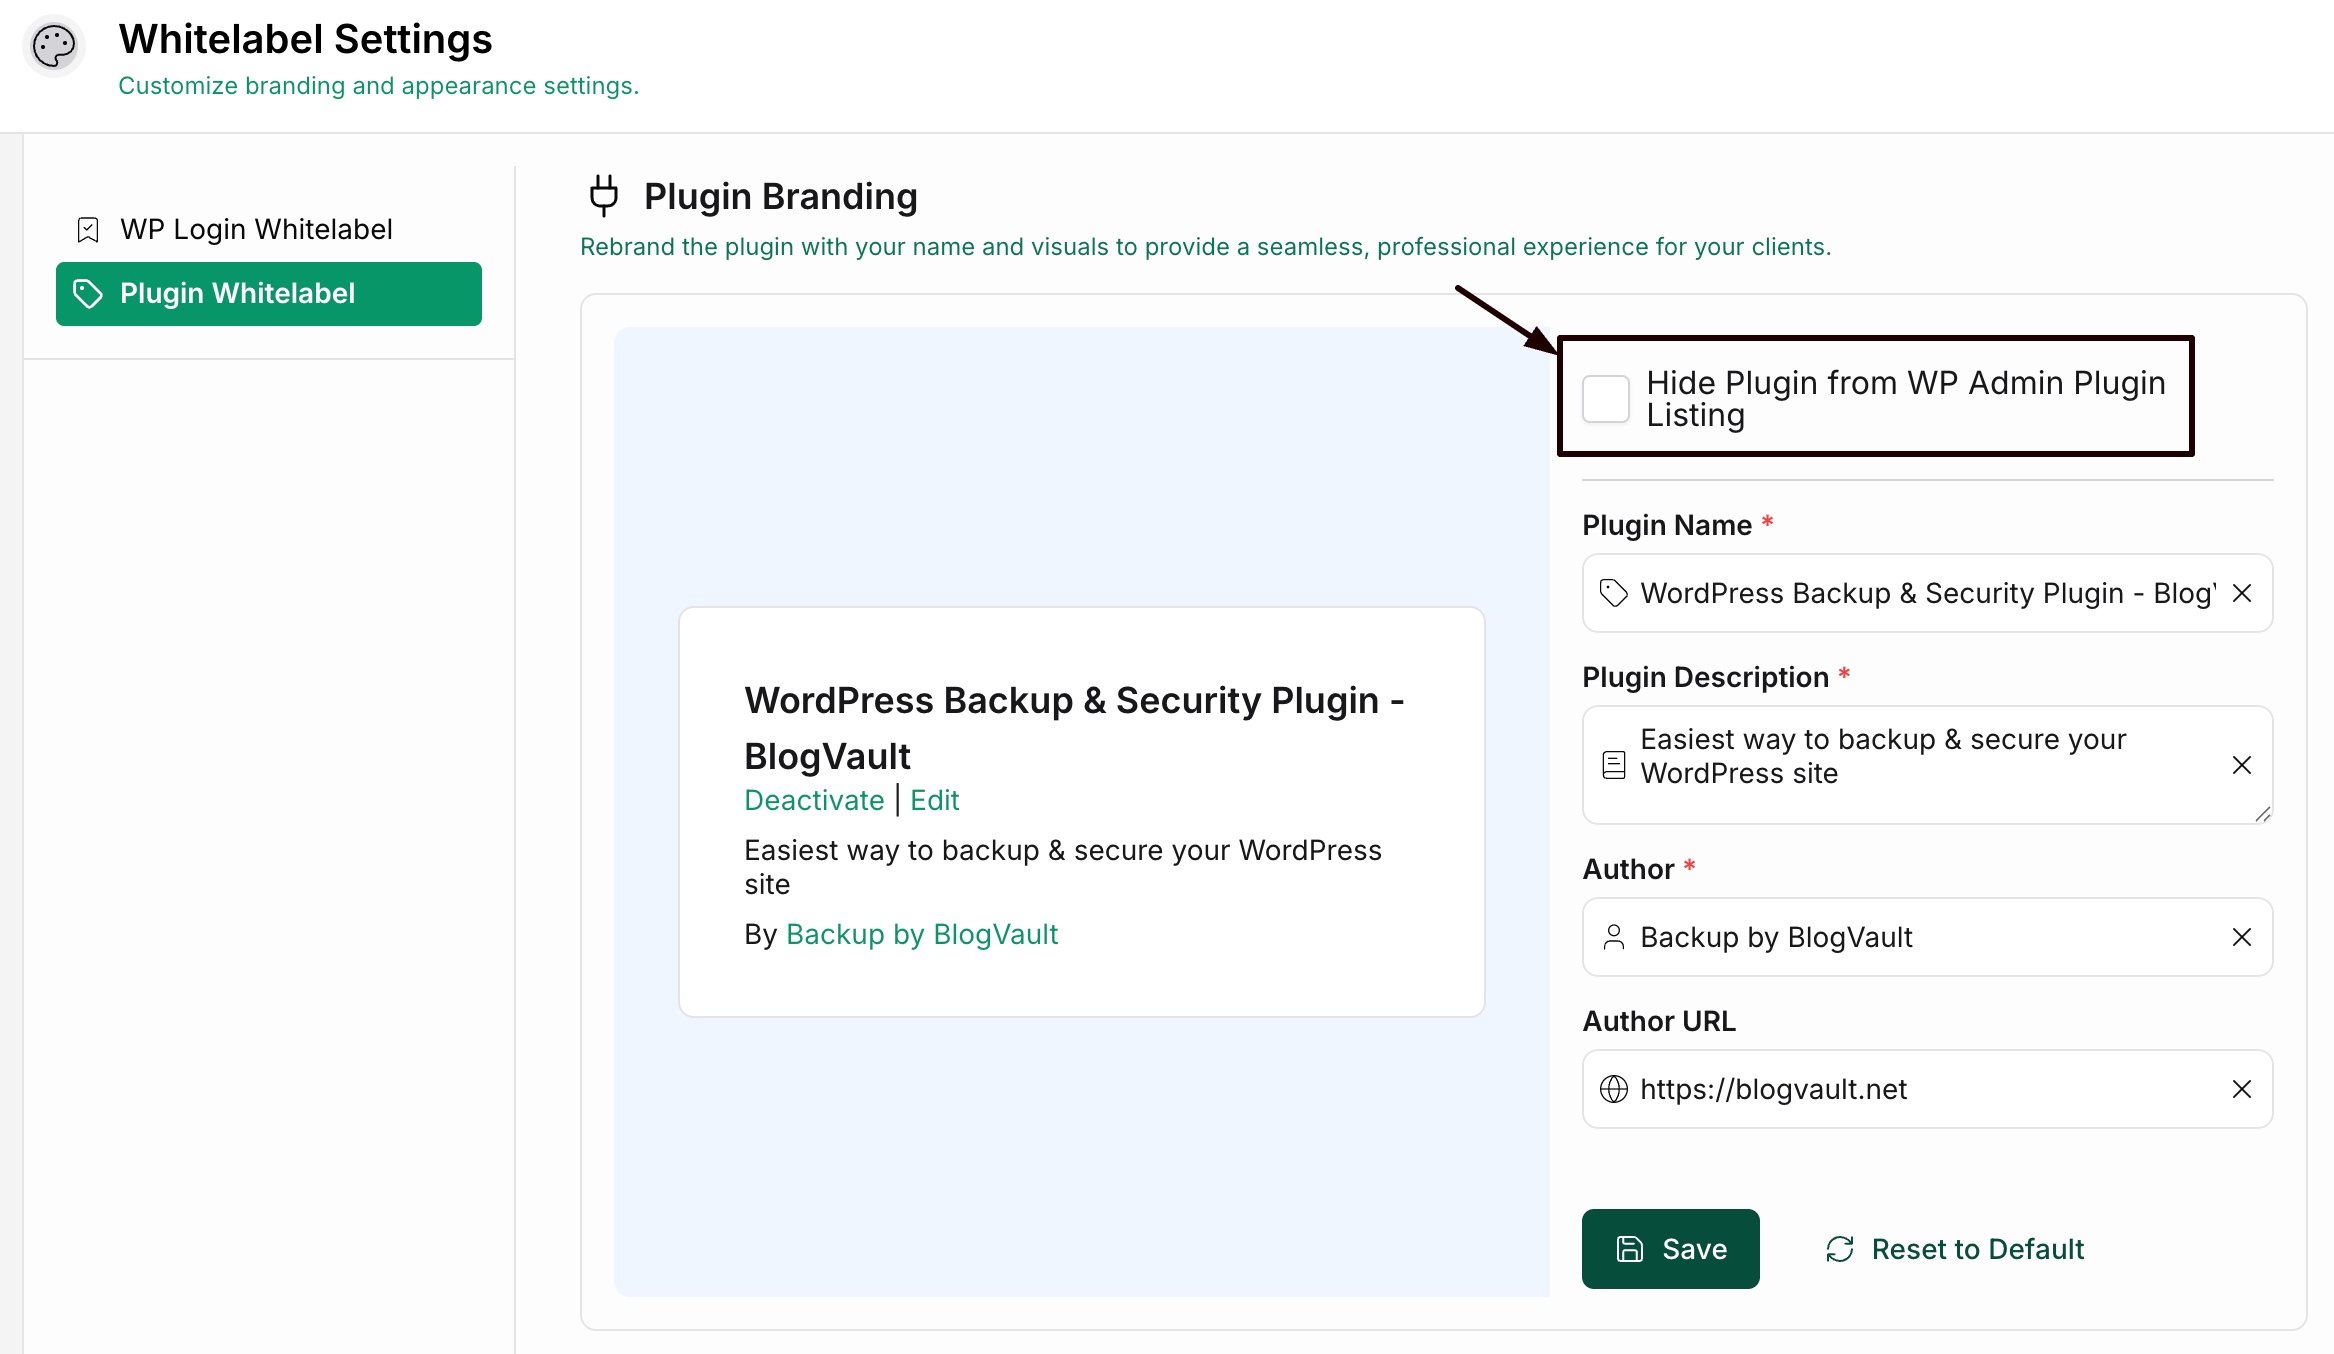
Step 4: Check the Hide Plugin from WP Admin Plugin Listing option to hide the plugin entirely.
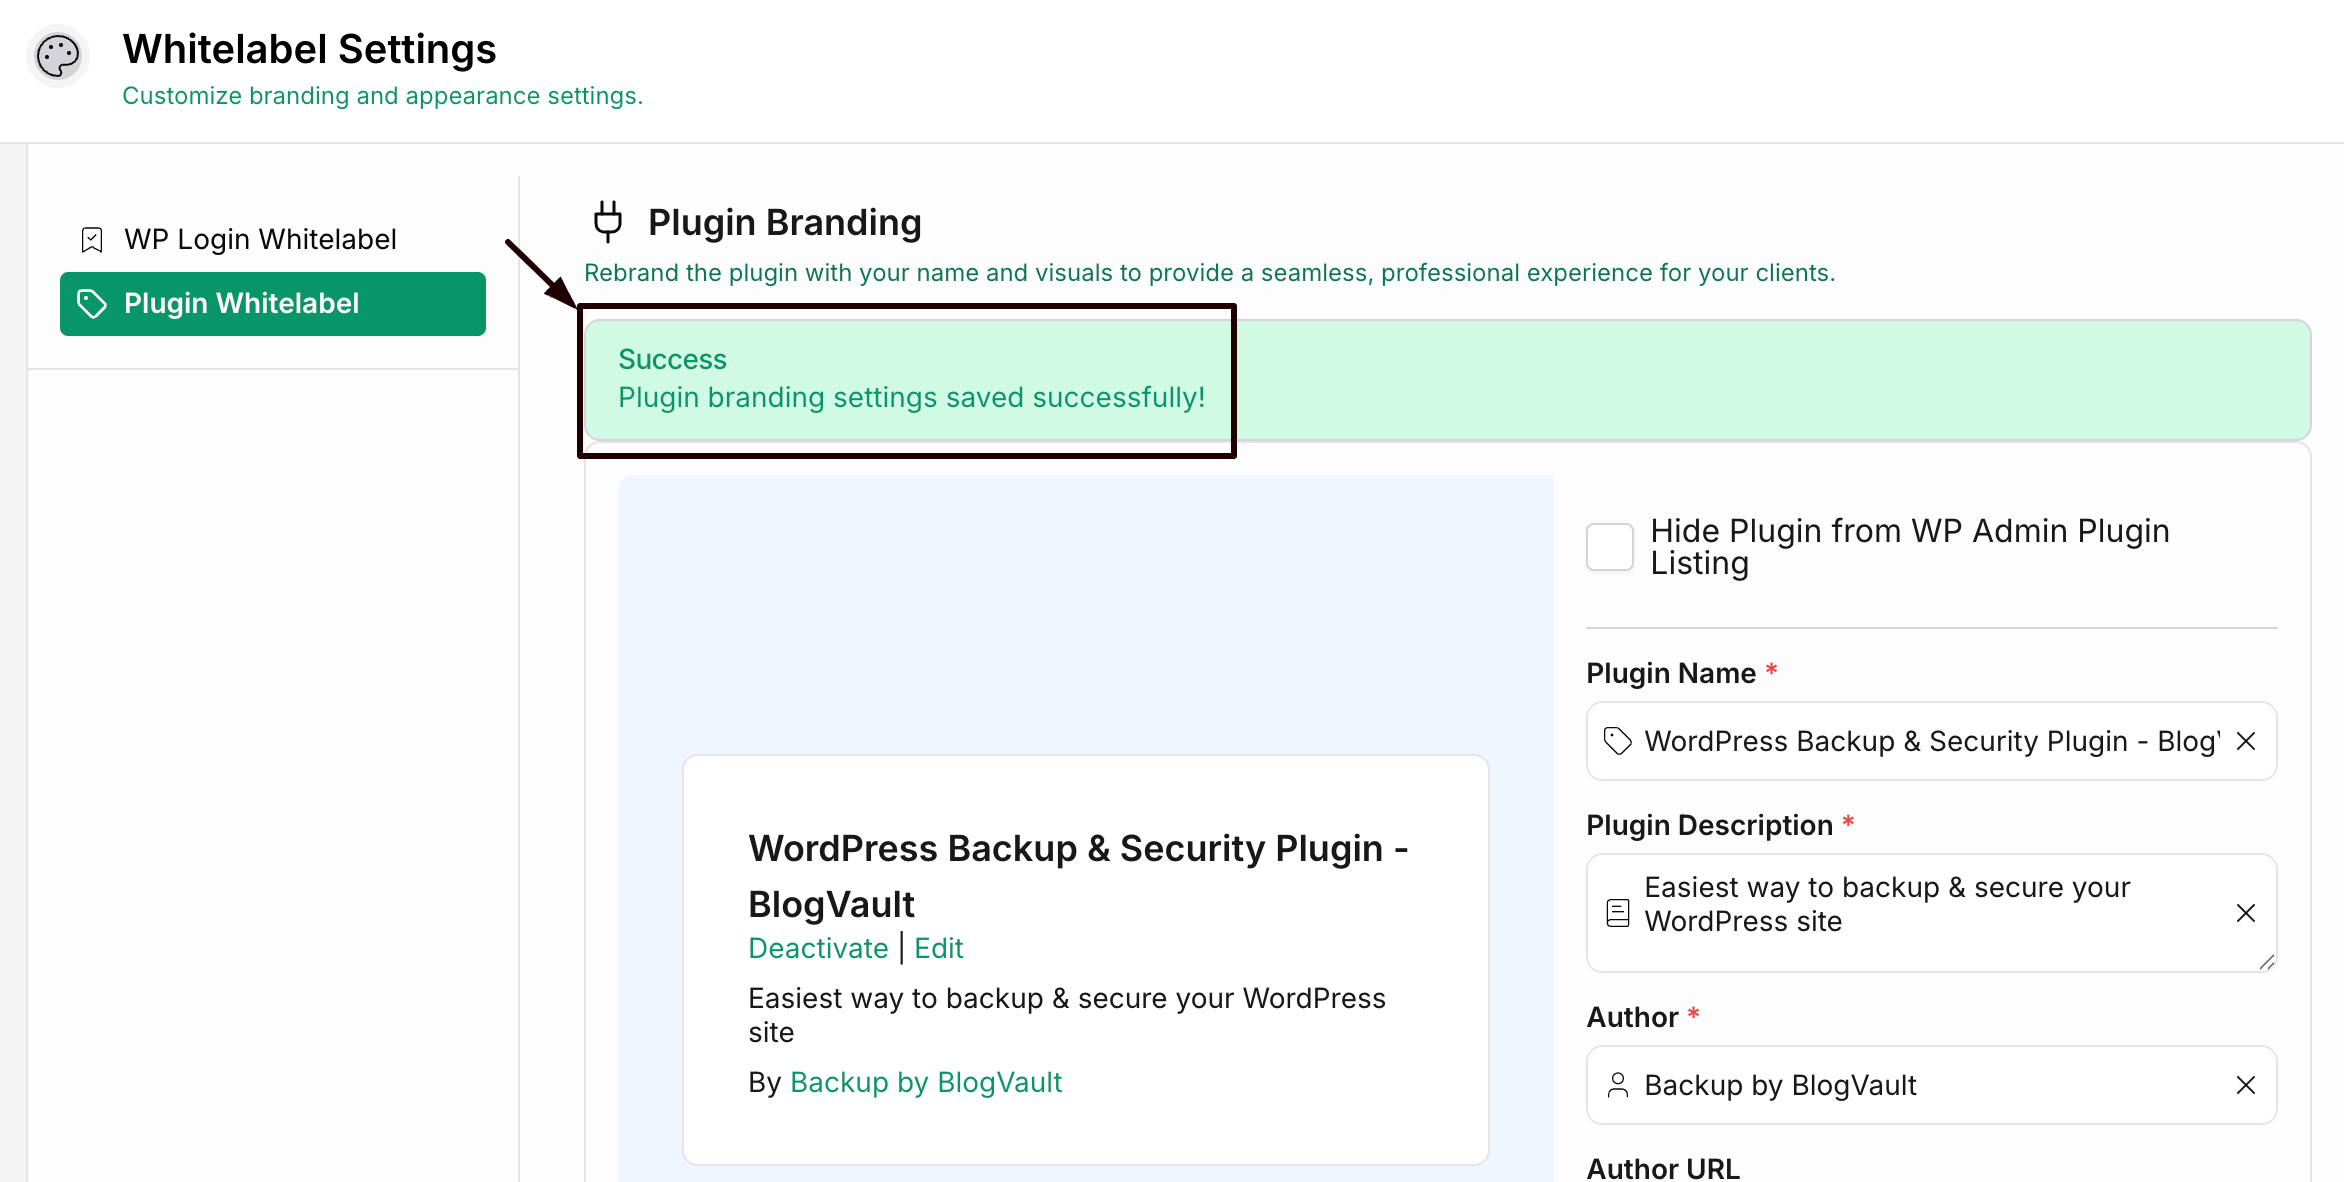
Step 5: Click Save.
Your settings will be saved, and a confirmation message will appear at the top.
Step 6: If you want to show the default name on your website again, click Reset to Default. The information about your brand is stored for your further use.
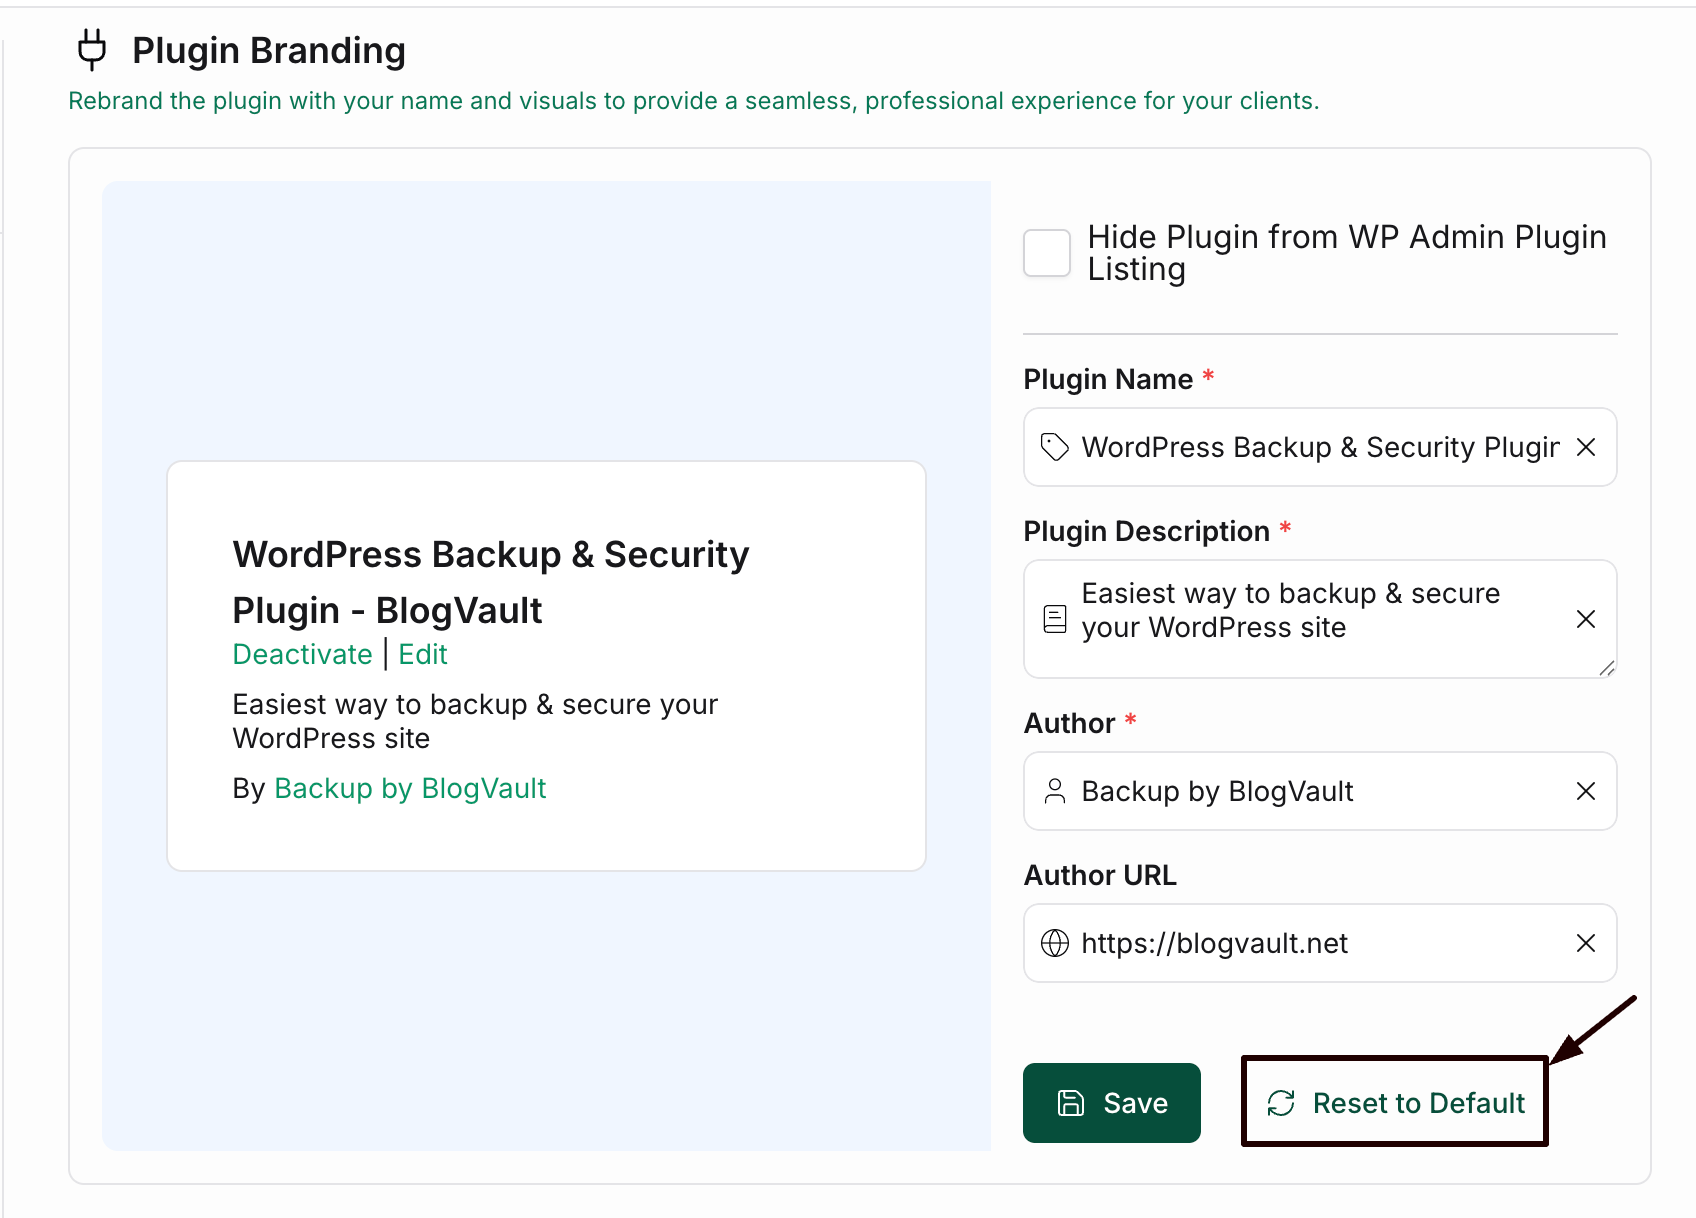
To white-label the Plugin for any site, follow the steps below:
Step 1: Open the site details page for the site you want to apply the white-label to
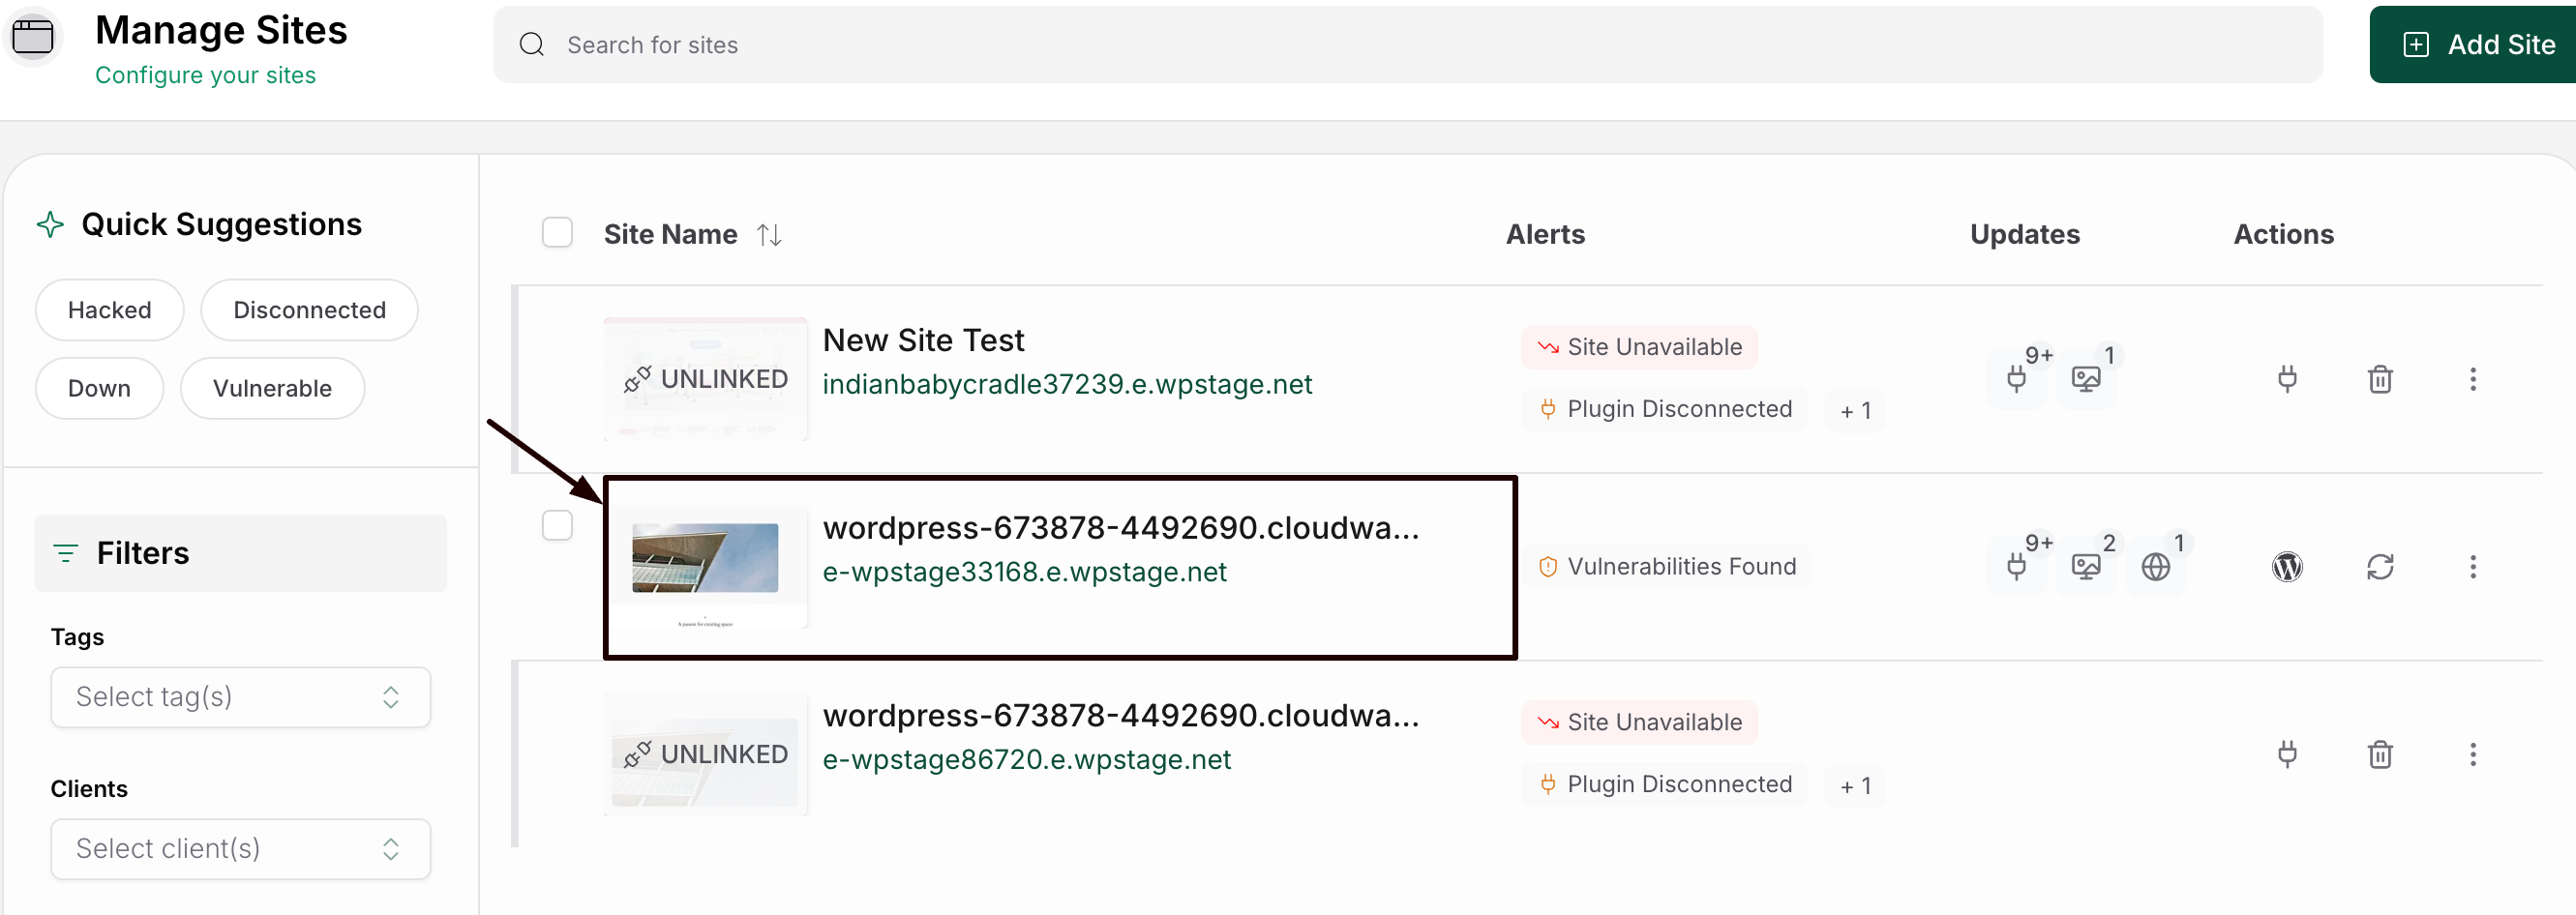
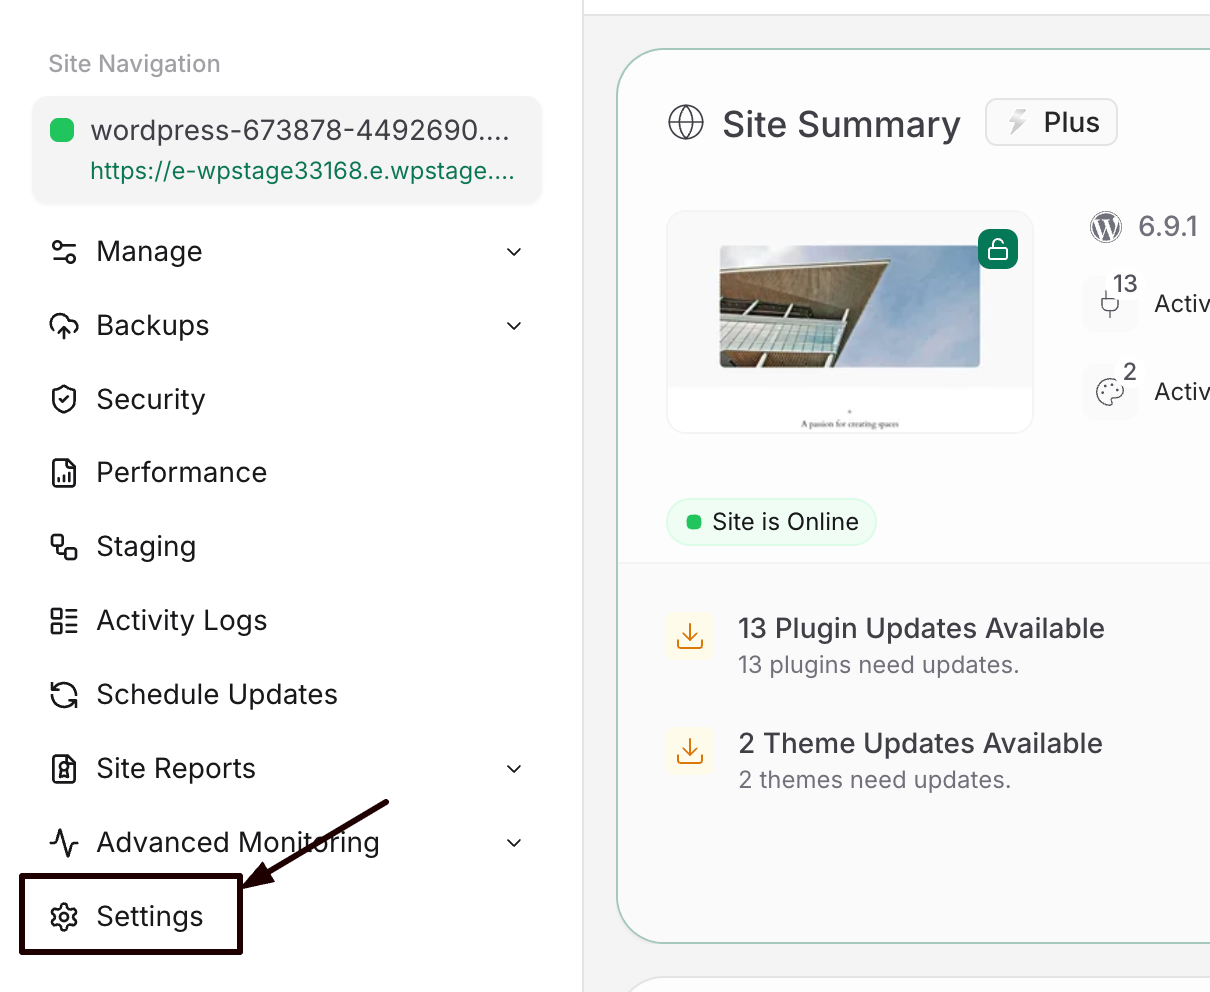
Step 2: Open the left side menu by clicking the button in the top left corner of the screen. The menu will appear. Click on White Label.
Step 3: Double-click on the "Plugin Branding" option:
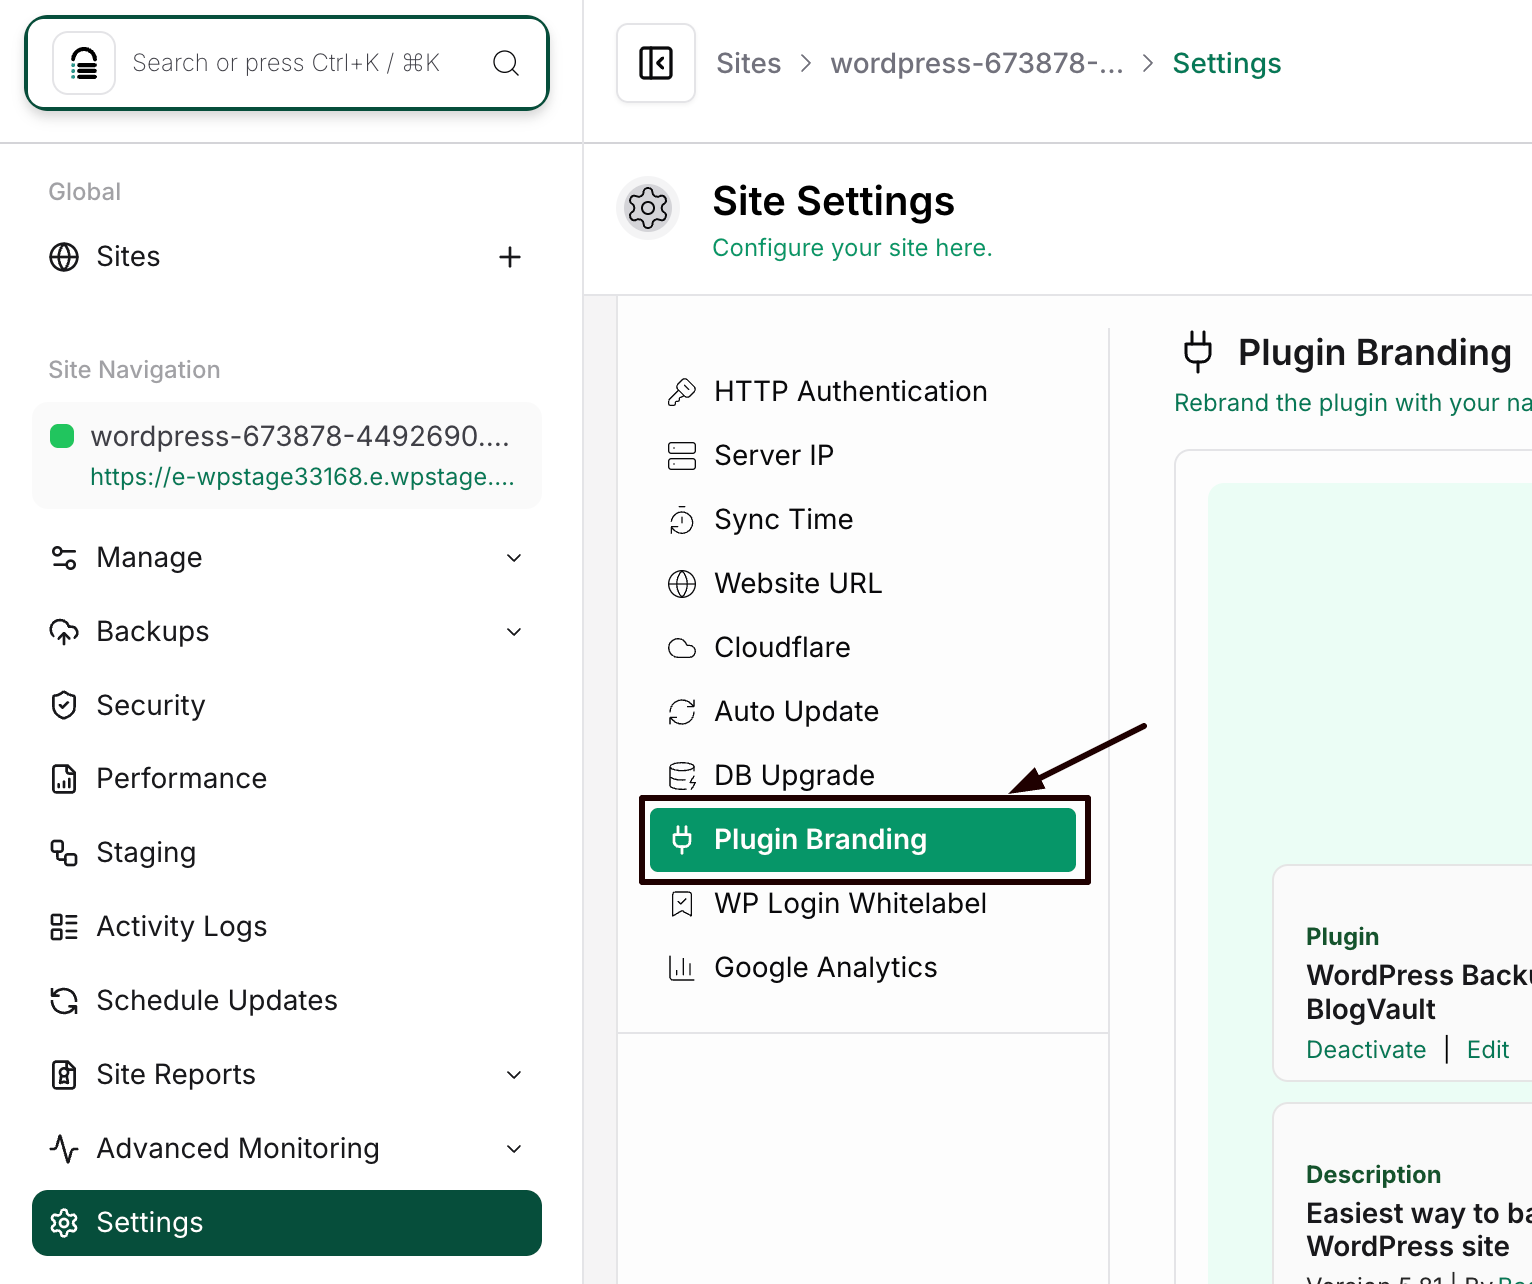
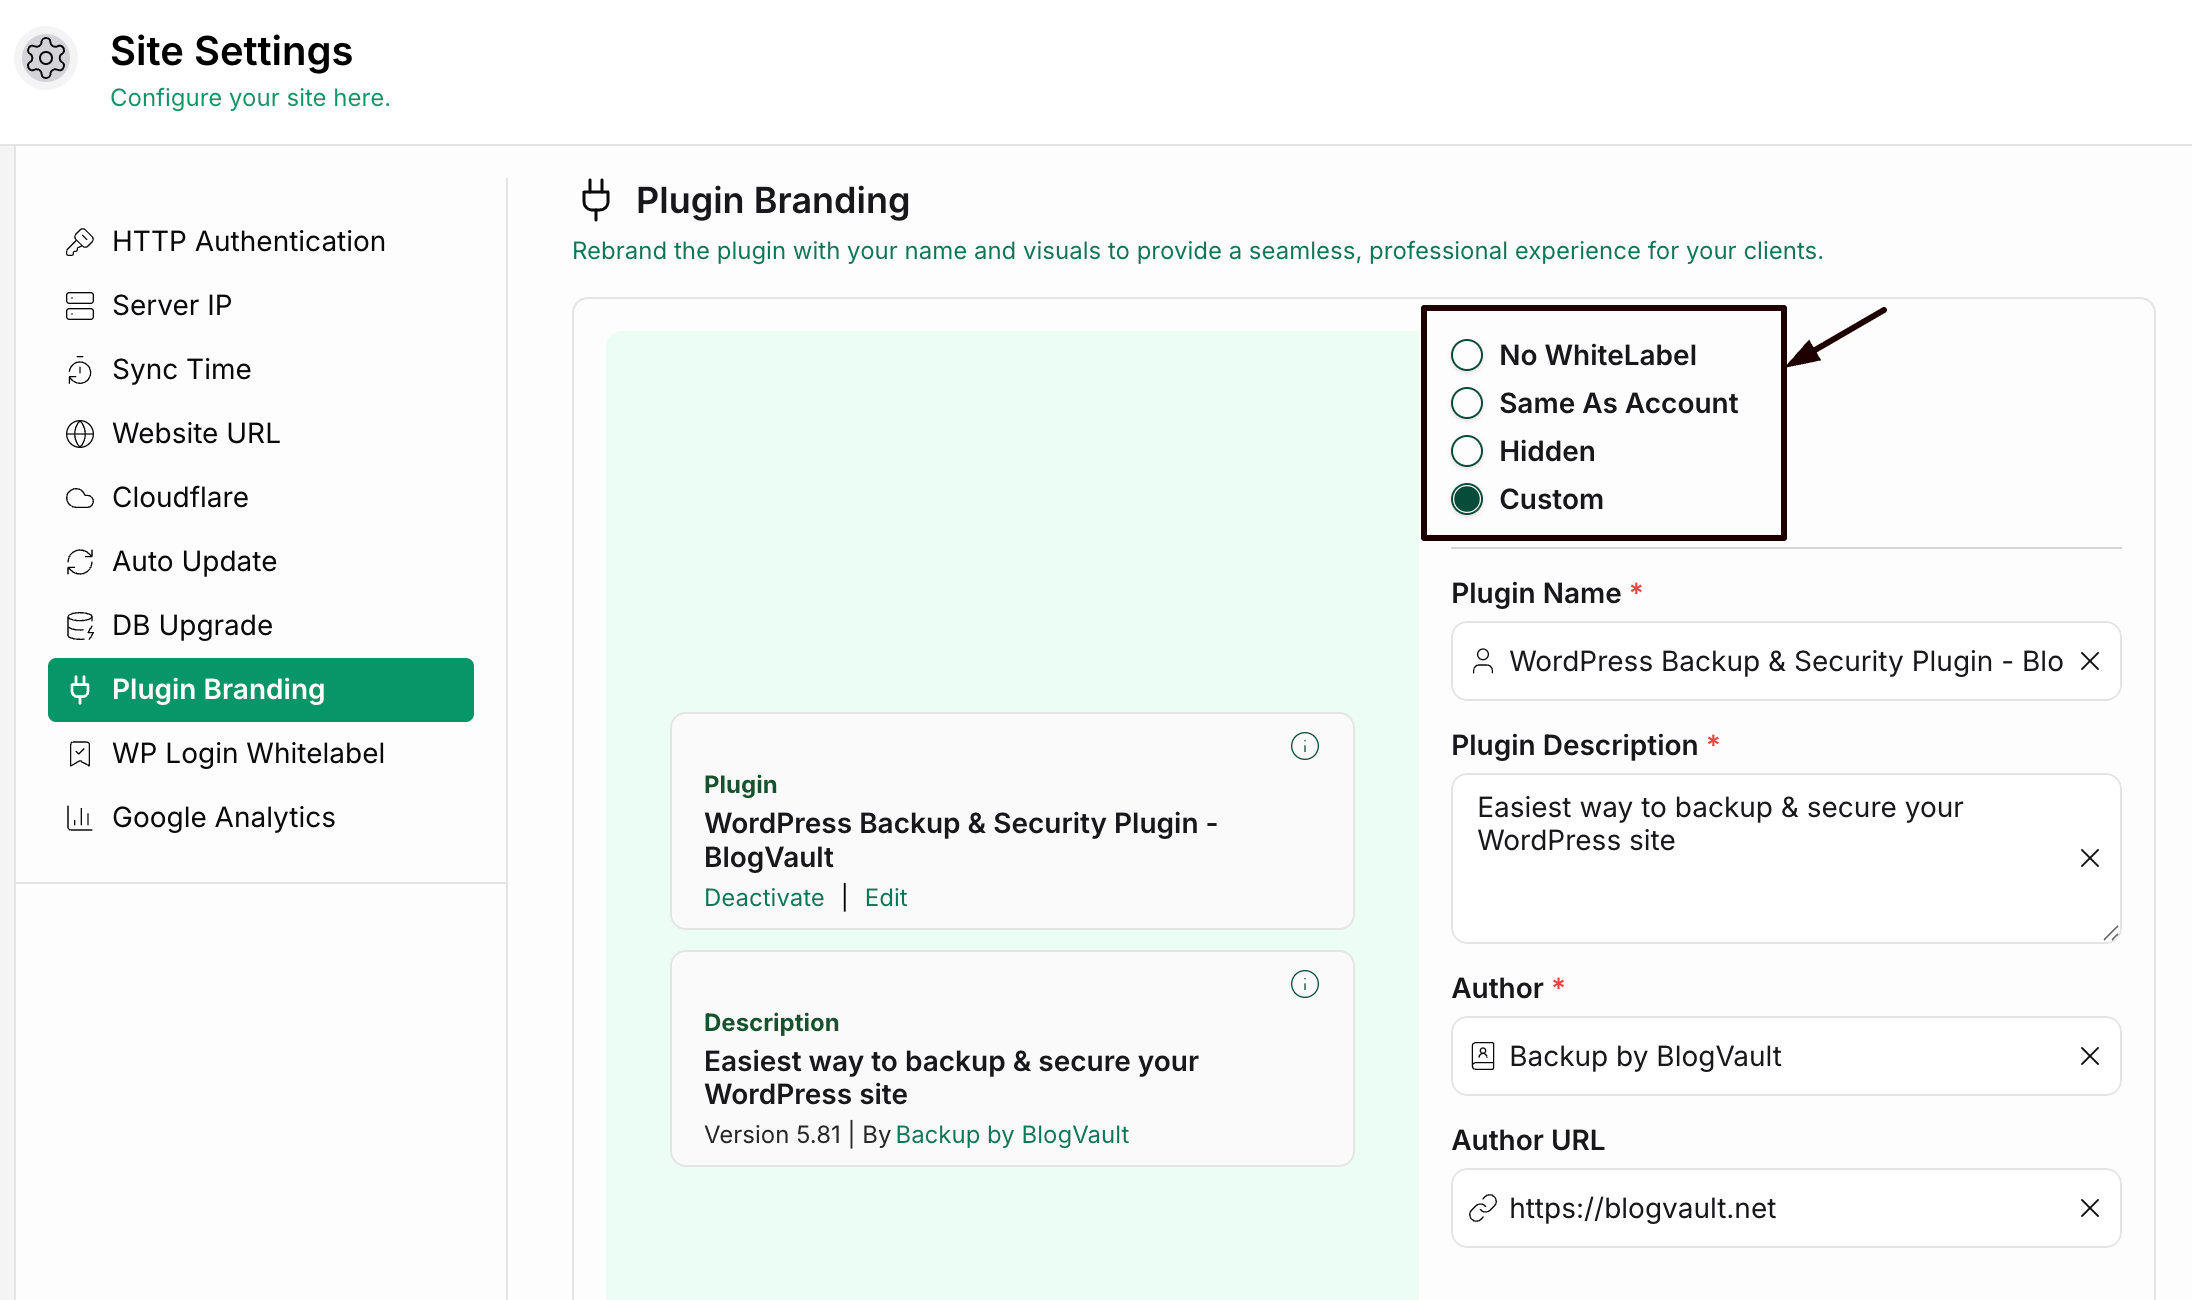
Step 4: The White Label settings will now be available. You can choose from the following options:
- No White Label – Displays the default plugin branding.
- Same As Account – Uses the branding configured at the account level.
- Hidden – Hides the plugin completely from the WP-Admin of the site.
- Custom – Allows you to create your own branding.
If you select Custom, you can enter a custom plugin name and update details such as the plugin description, author name, author URL, and other branding information using the form provided.
Step 5: Click Apply.
Now your website is white-labeled.
Note: The white-label feature is available for the agency plans.