How Do I Check the Modifications I Made on My Staging Site?
Step 1 of 8
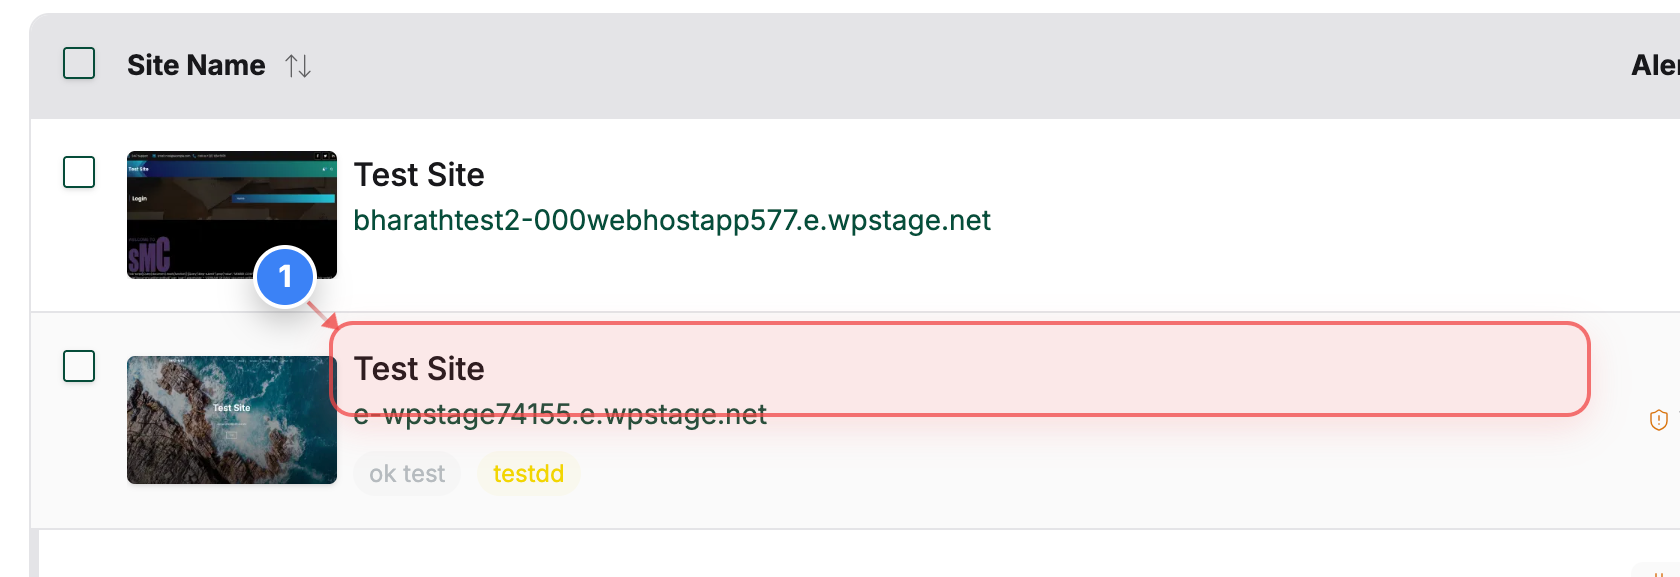
Select your site
Click on the specific site name in the Site Listing page to access the Site Detail dashboard.
Note: Ensure you select the site where the staging environment is currently active.
Step 2 of 8
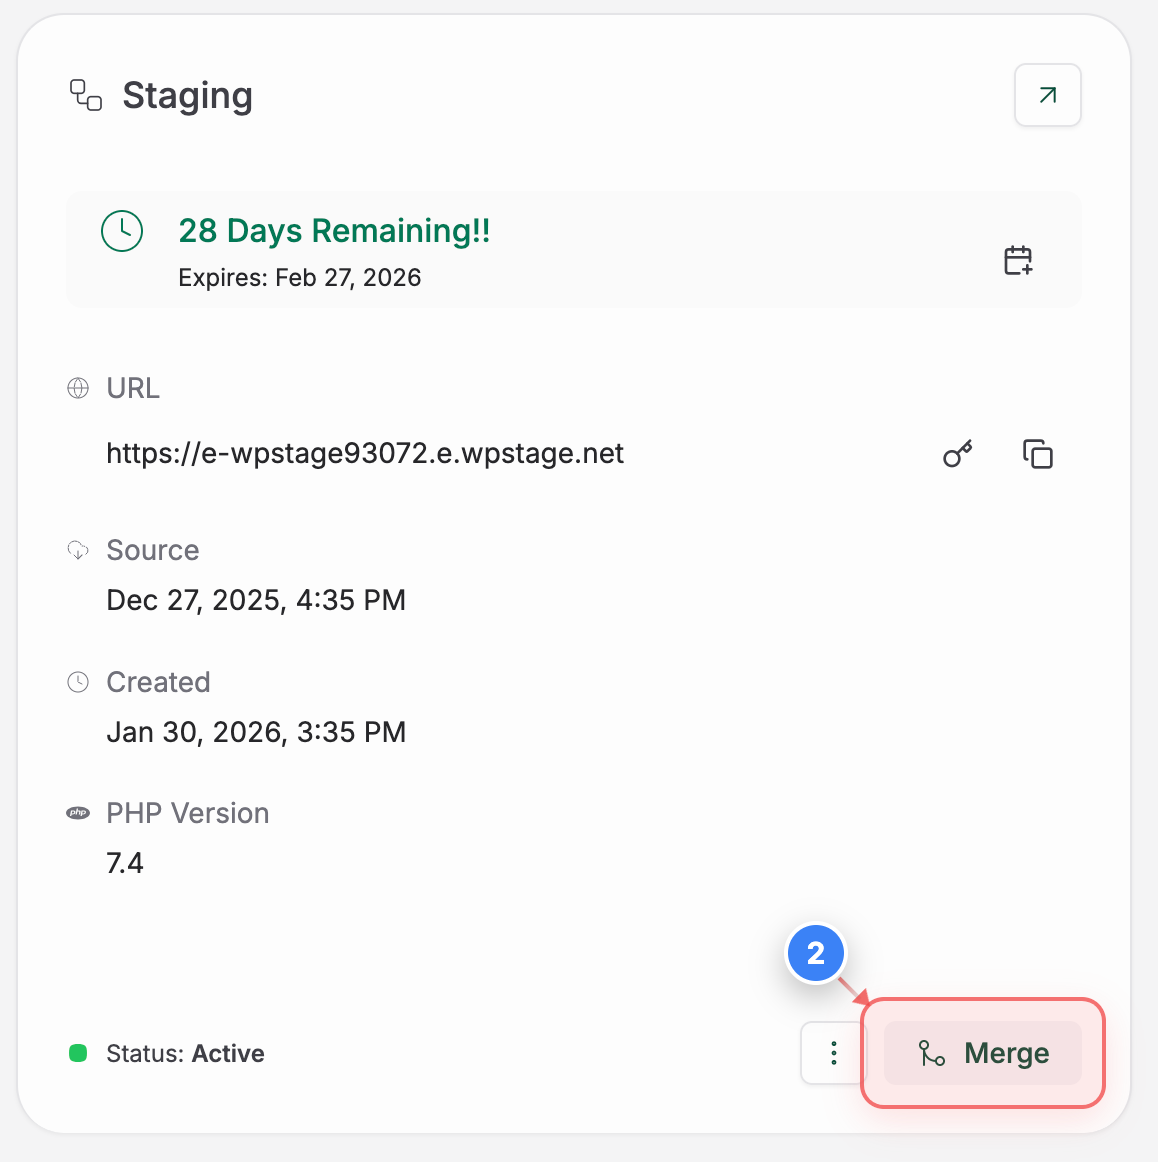
Initiate merge process
Locate the **Staging** section in the dashboard and click the merge icon (arrow button) to begin the Merge to Live process.
Note: This initiates a comparison between your staging and live environments.
Step 3 of 8
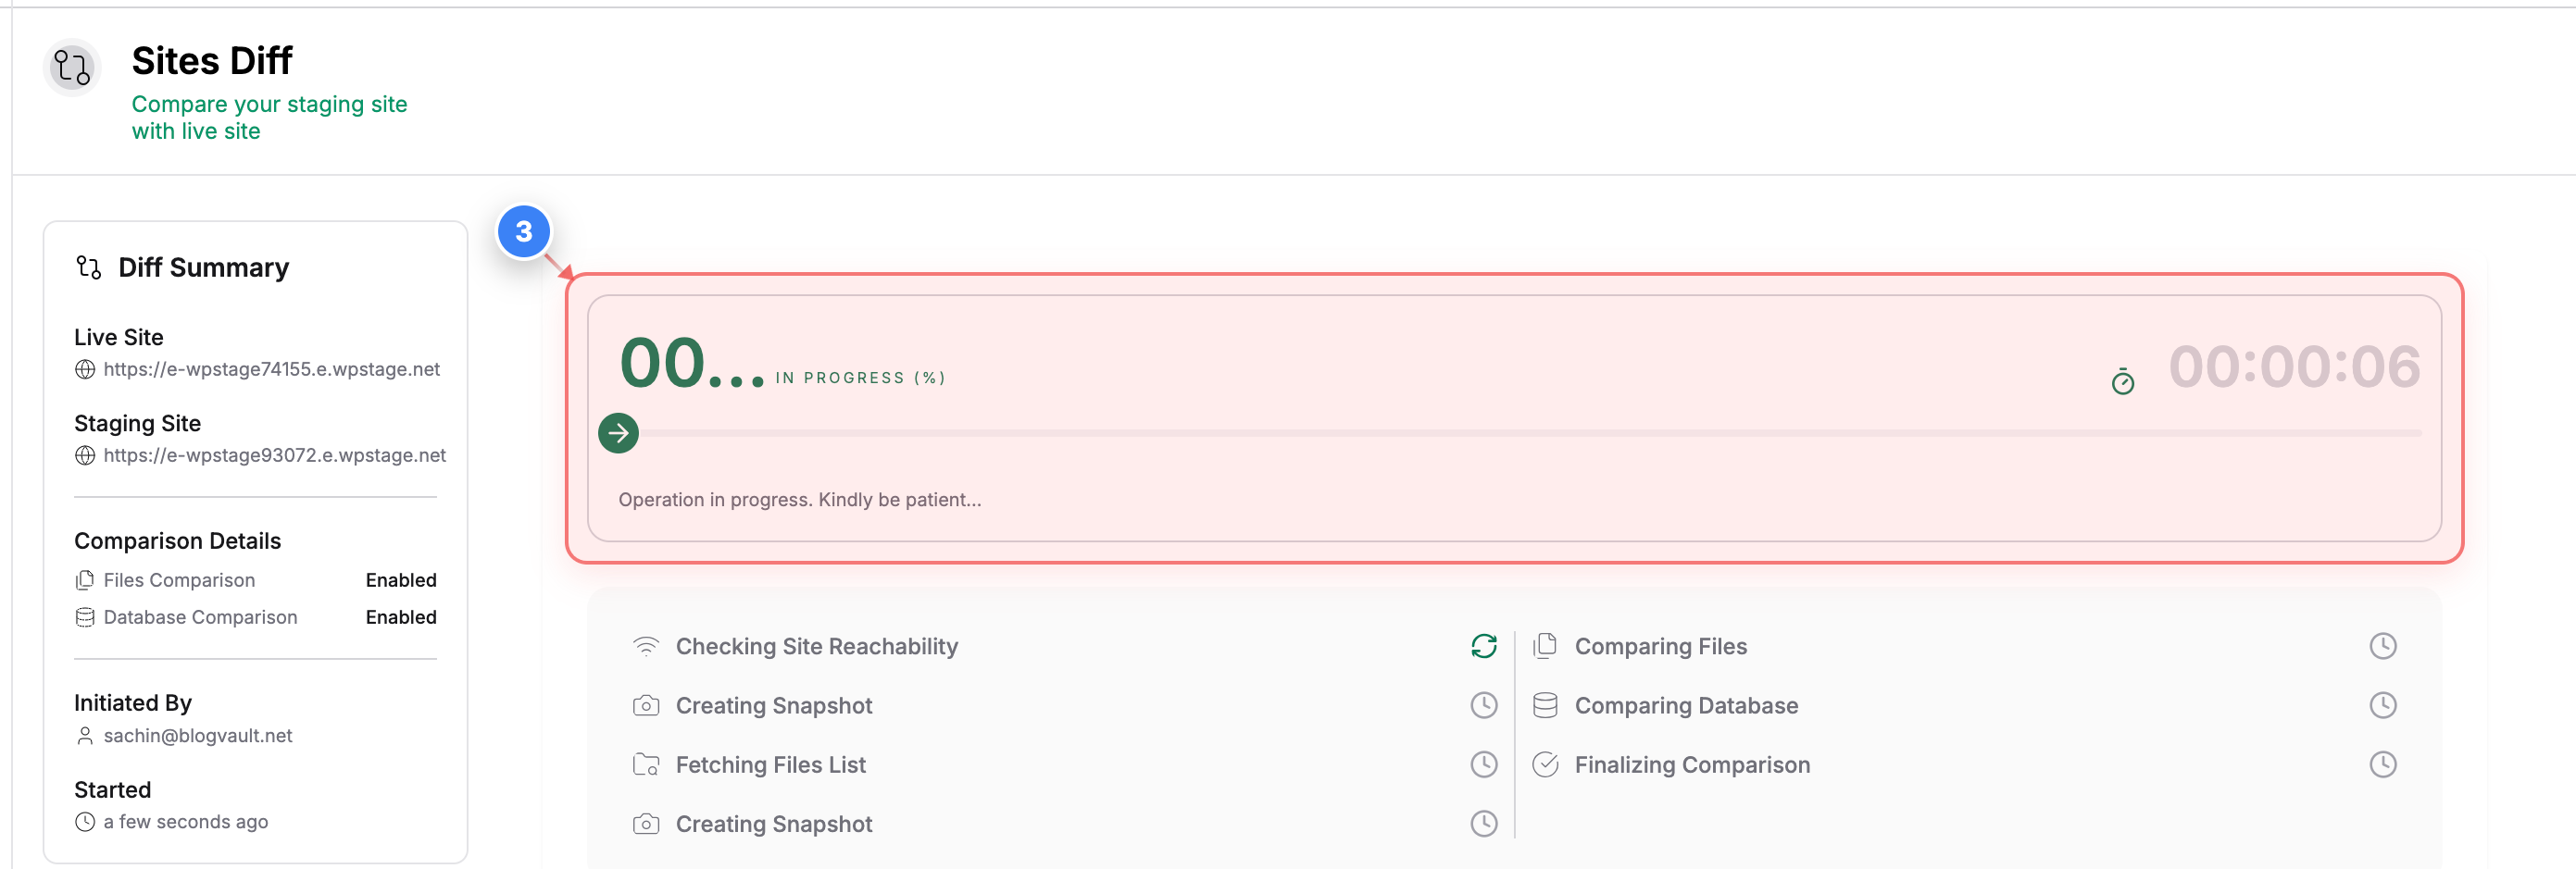
View comparison status
The progress indicator in the tasks area opens the difference comparison view once the analysis is complete.
Note: Once the process is done, you can view differences before finalizing the merge.
Step 4 of 8
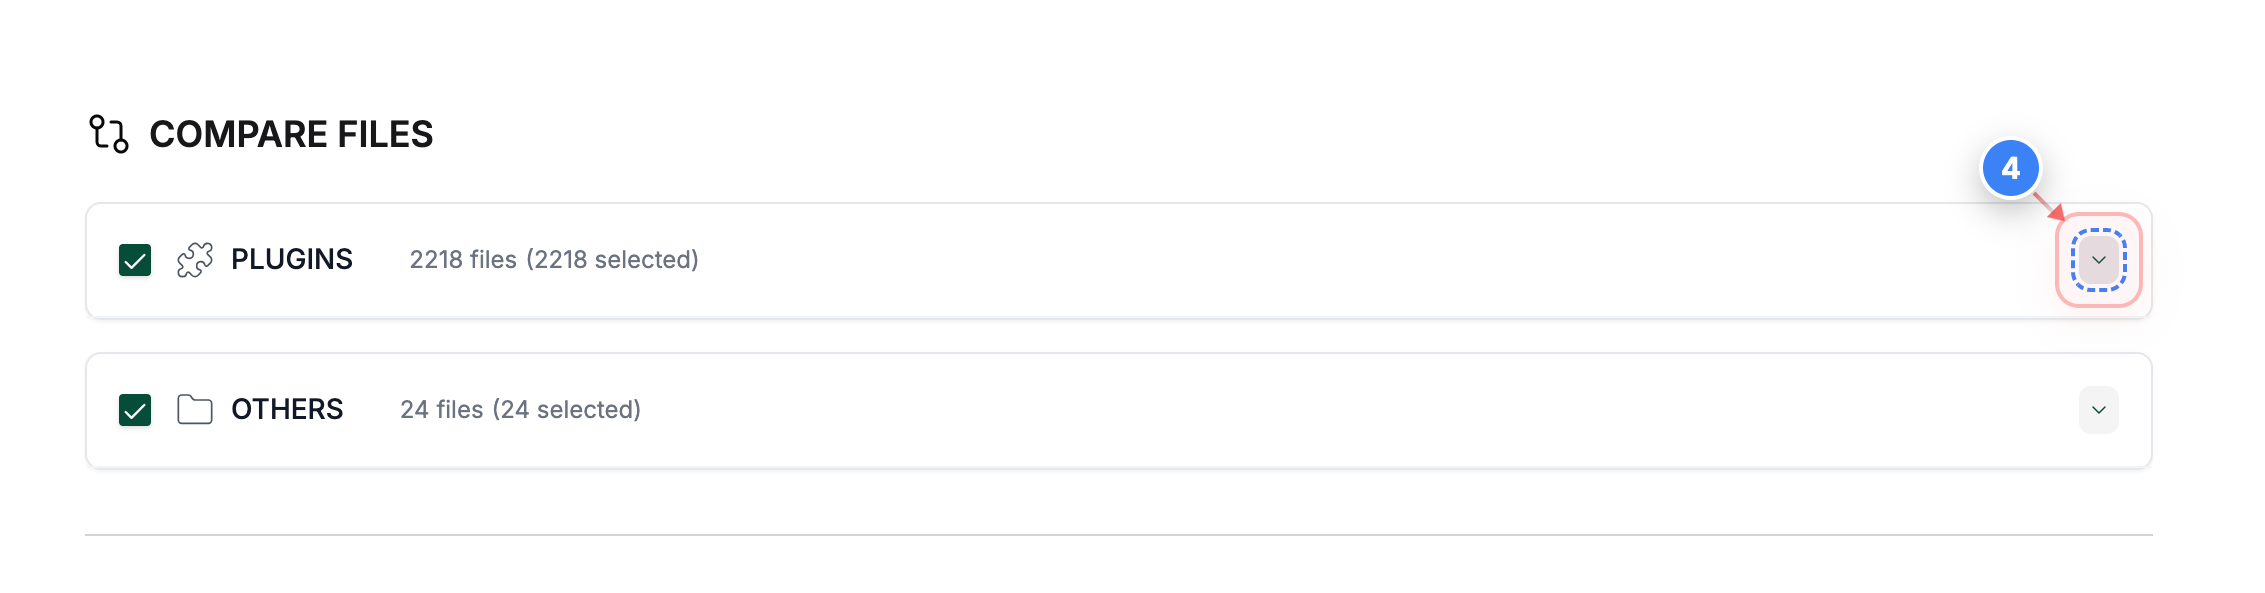
View plugin changes
In the Files comparison view, select the checkbox next to **Plugins** to review and include plugin modifications in the merge.
Step 5 of 8
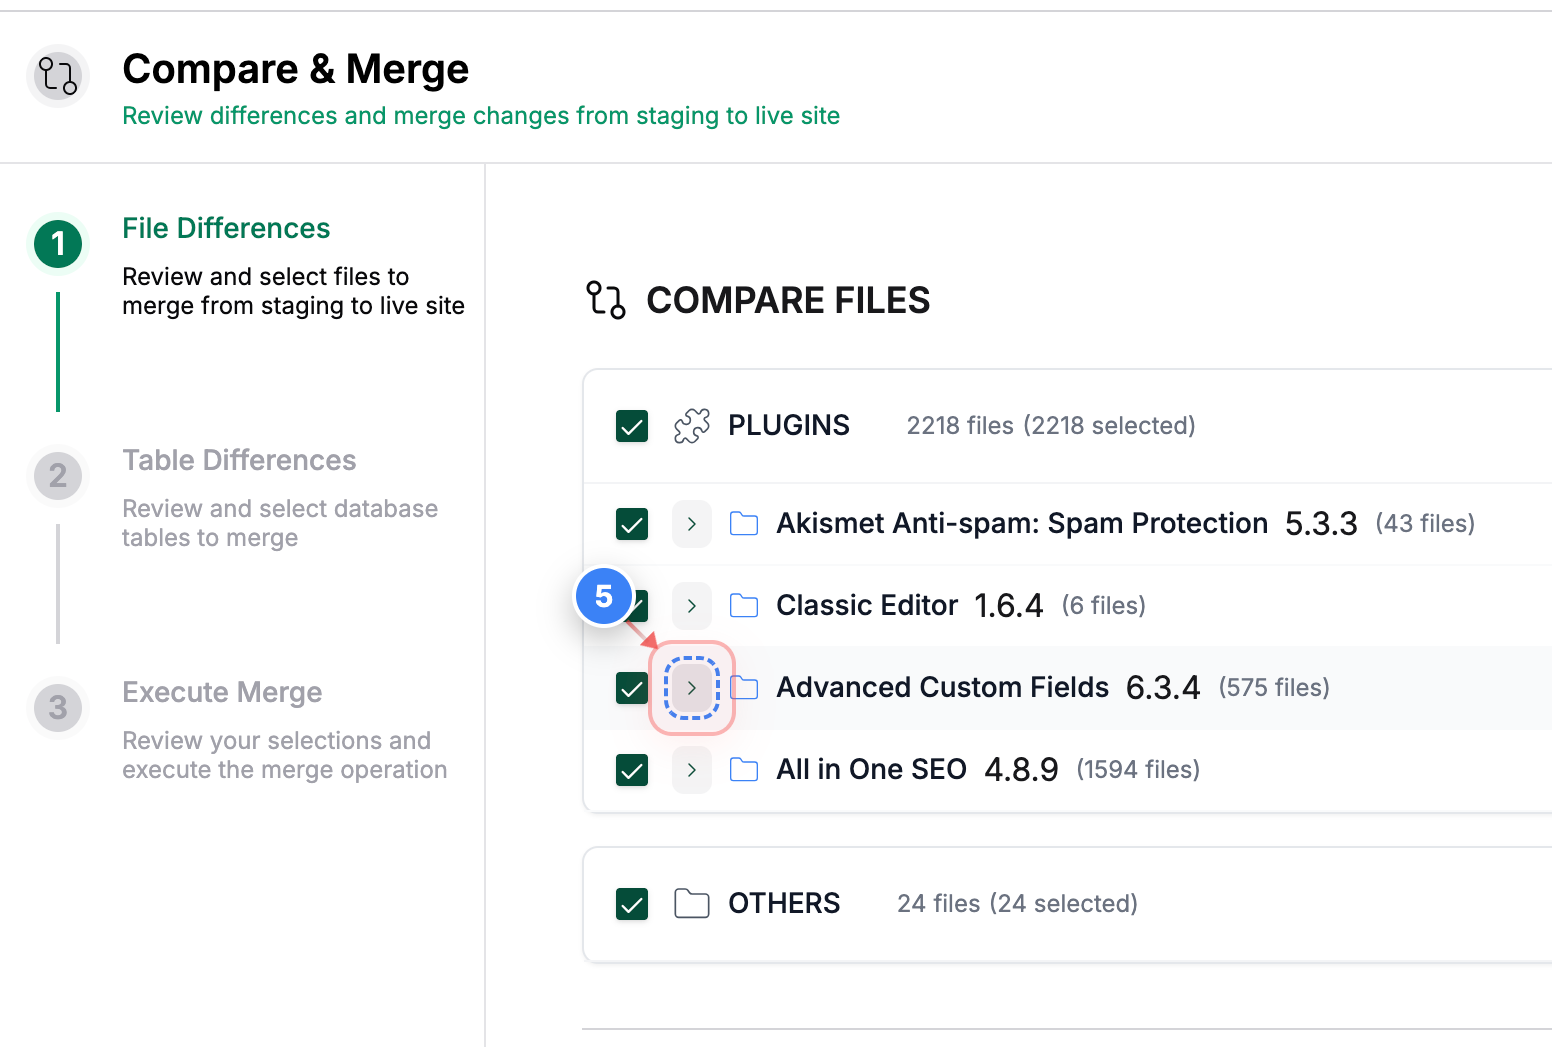
Expand file details
Click the expand icon next to a specific plugin or folder name to reveal the list of individual modified files.
Step 6 of 8
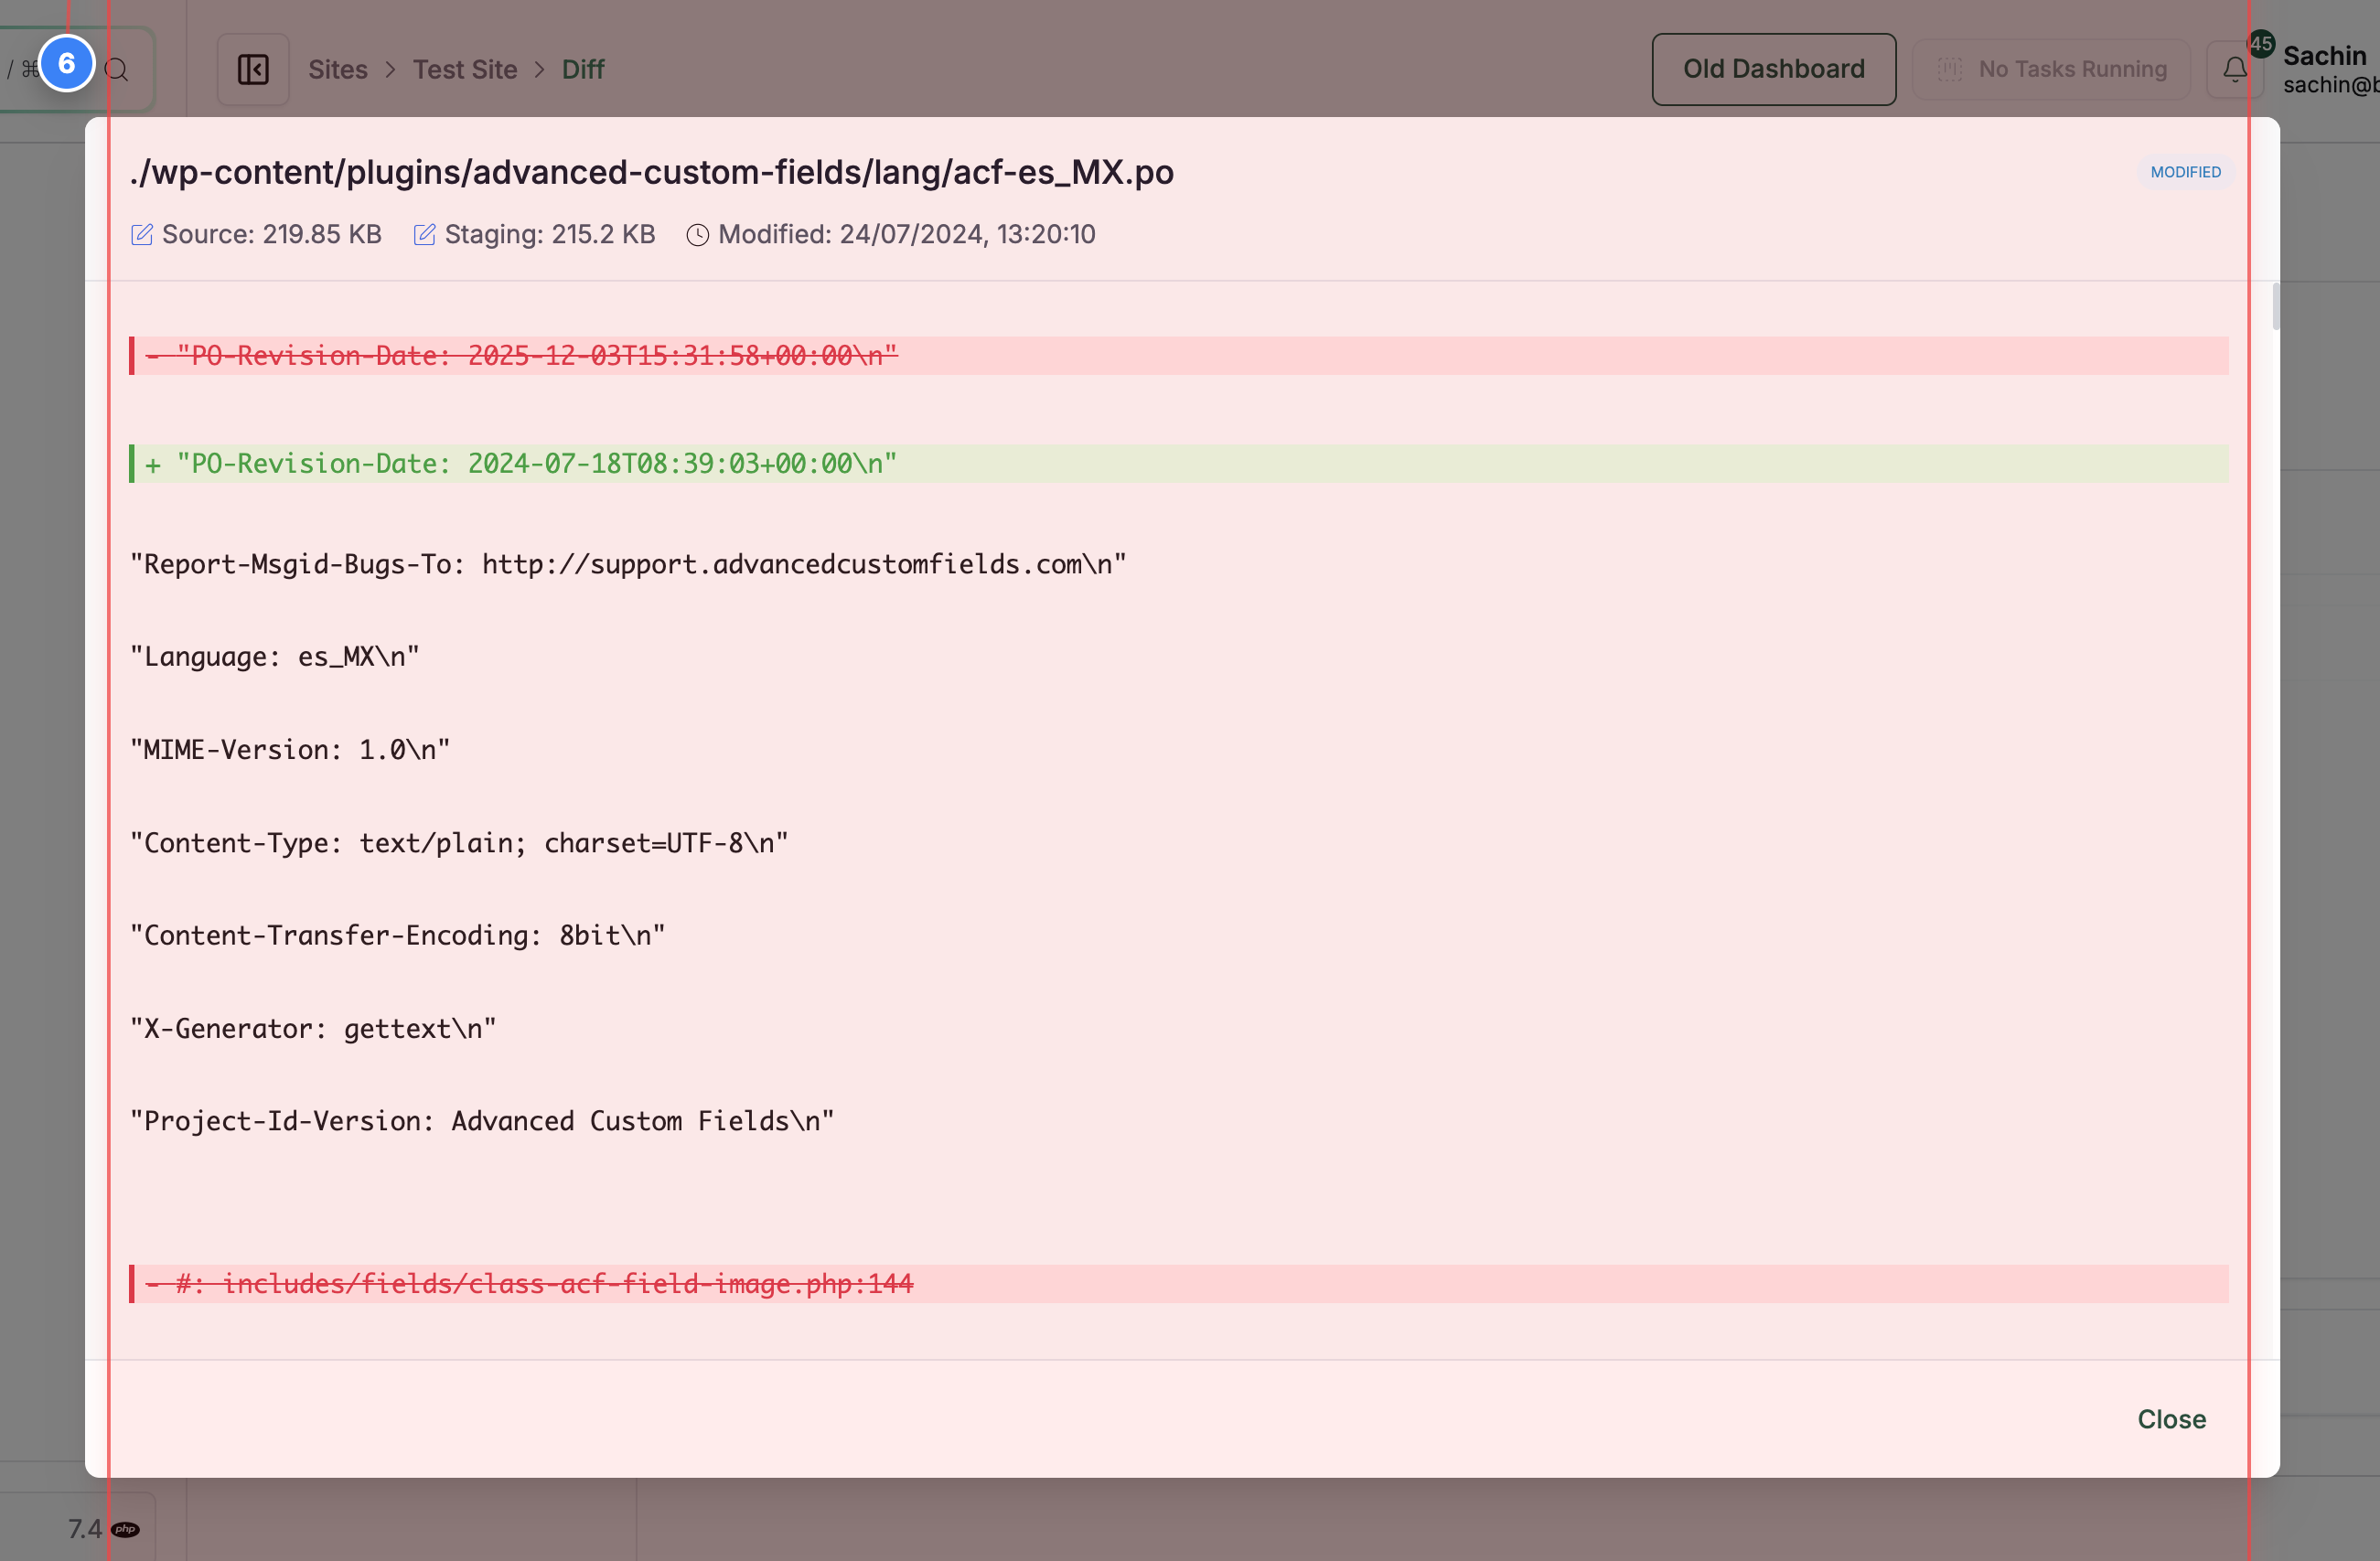
Review code differences
Click on a specific file to view the line-by-line code differences to ensure accuracy before merging.
Note:
The Lines marked in Red have been deleted in your Staging site.
The Lines marked in Green have been changed in your Staging site.
The Lines marked in Blue have been updated in your Staging site.
The Lines marked in Red have been deleted in your Staging site.
The Lines marked in Green have been changed in your Staging site.
The Lines marked in Blue have been updated in your Staging site.
Step 7 of 8
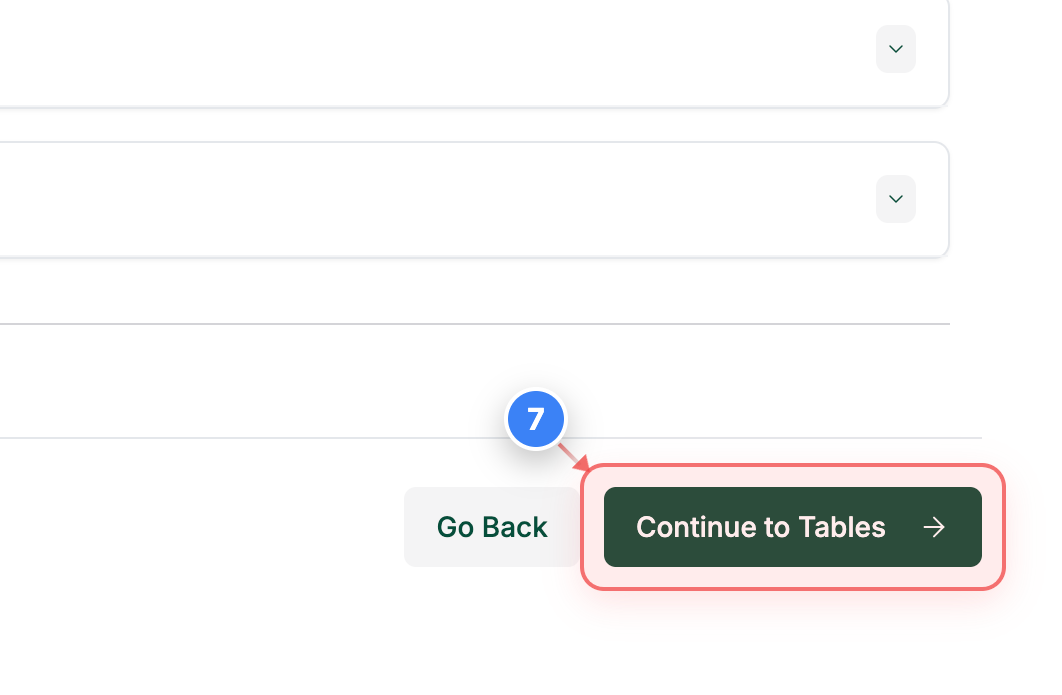
Proceed to the tables
After reviewing and selecting the desired files, click the **Continue to Tables** button in the top right corner to review database changes.
Step 8 of 8
Finalize the merge
Review the selected database tables and click the **Continue to Merge** button to push the staging changes to your live site.
Note: This action will overwrite data on your live site with the selected staging data.