How to Setup Manual Plugin Connection with the site?
Step 1 of 6
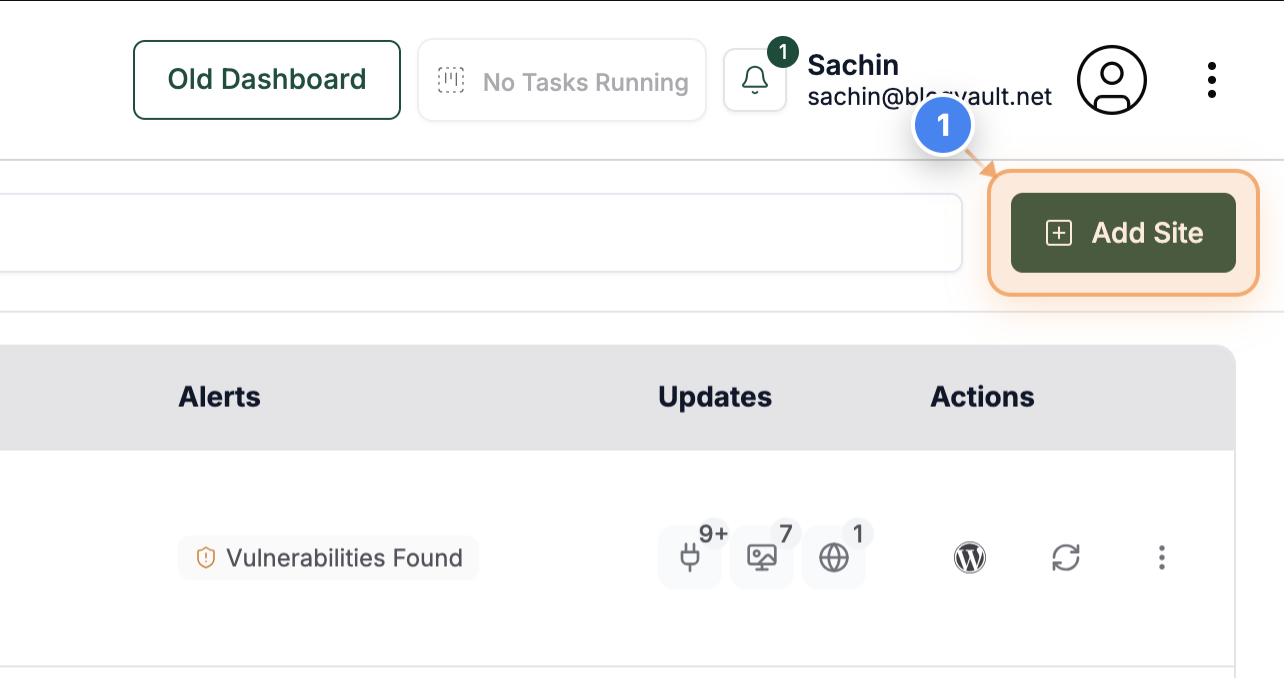
Add your Site
Click on the "Add Site" link in the top-right corner of the Manage Sites page to start adding a new website to your account. You'll be redirected to the site setup process, where you can choose between automatic or manual installation methods.
Note: Add your Site URL in the URL box & click on Continue.
Step 2 of 6
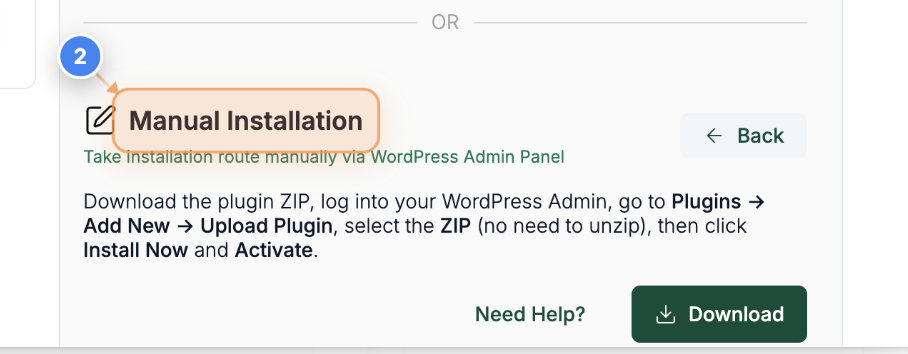
Download Plugin for Manual Installation
See the "Manual Installation" option to download the Plugin from the Dashboard.
Note: You can use the downloaded plugin file for Manual plugin installation from the WP Admin Dashboard.
Step 3 of 6
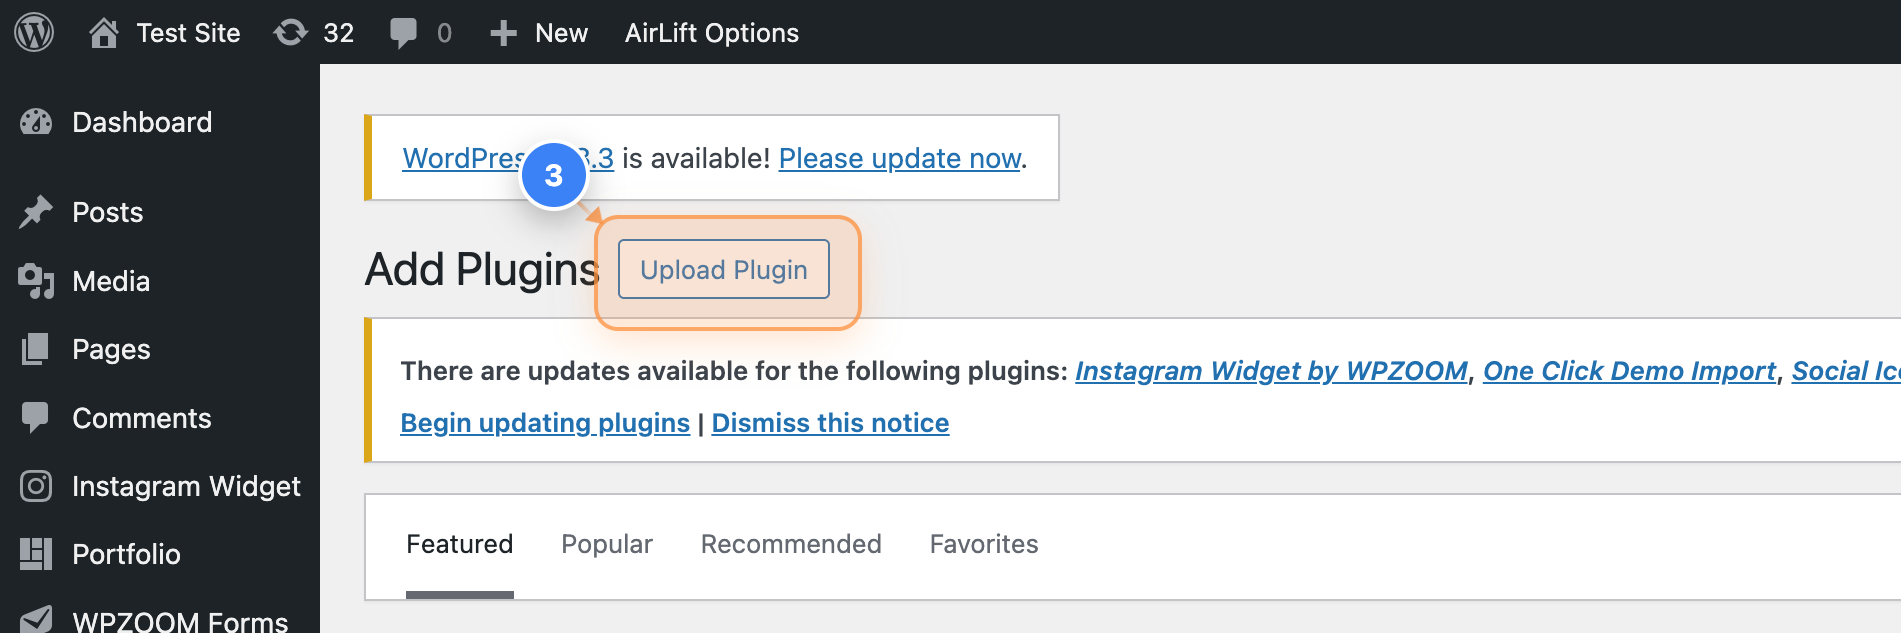
Manual Installation
Go to your WordPress dashboard, click the "Upload Plugin" link at the top of the Add Plugins page to access the upload form.
Note: This allows you to manually upload the plugin file to your WordPress site.
Step 4 of 6
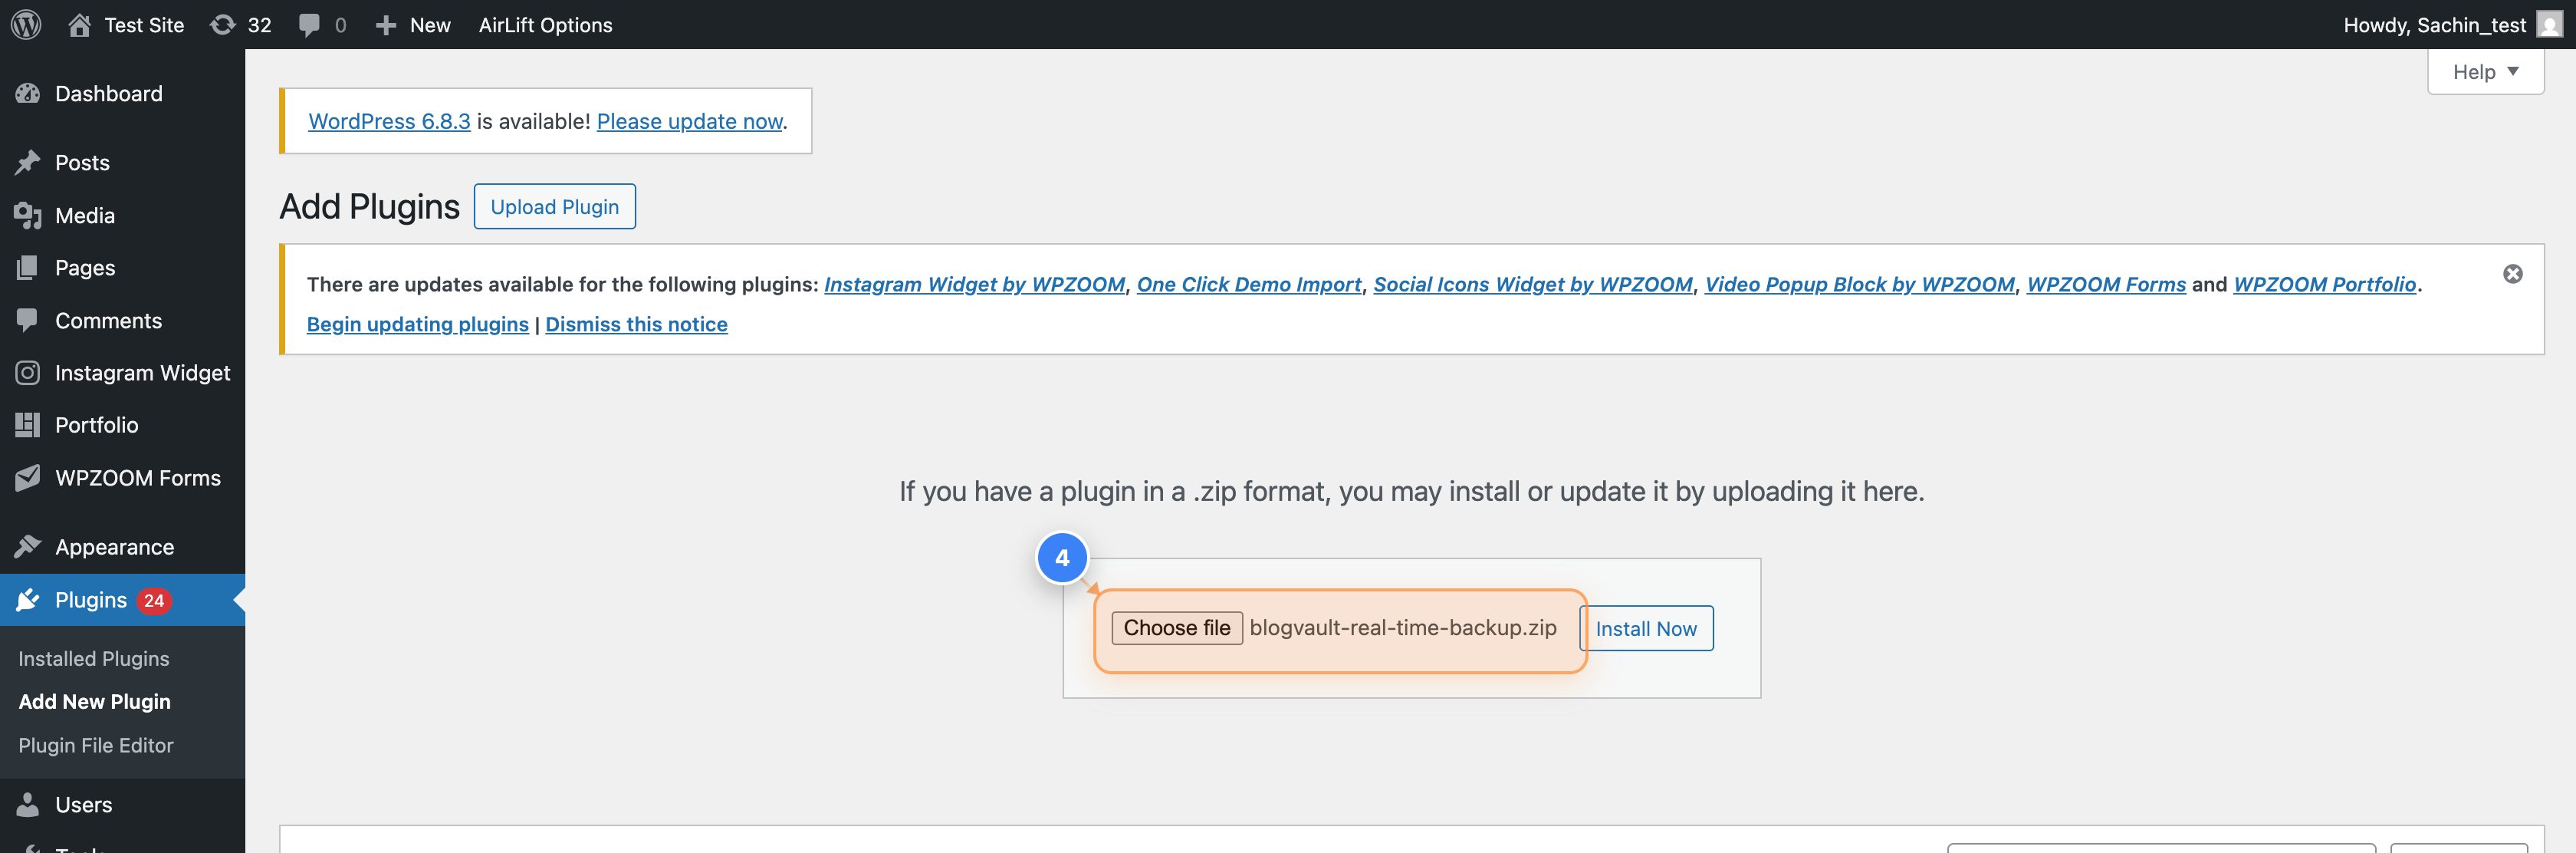
Select Plugin ZIP File
Click in the "Plugin zip file" field at the center of the page to choose the plugin ZIP file from your computer.
Note: After selecting the file, click 'Install Now' to upload and install the plugin.
Step 5 of 6
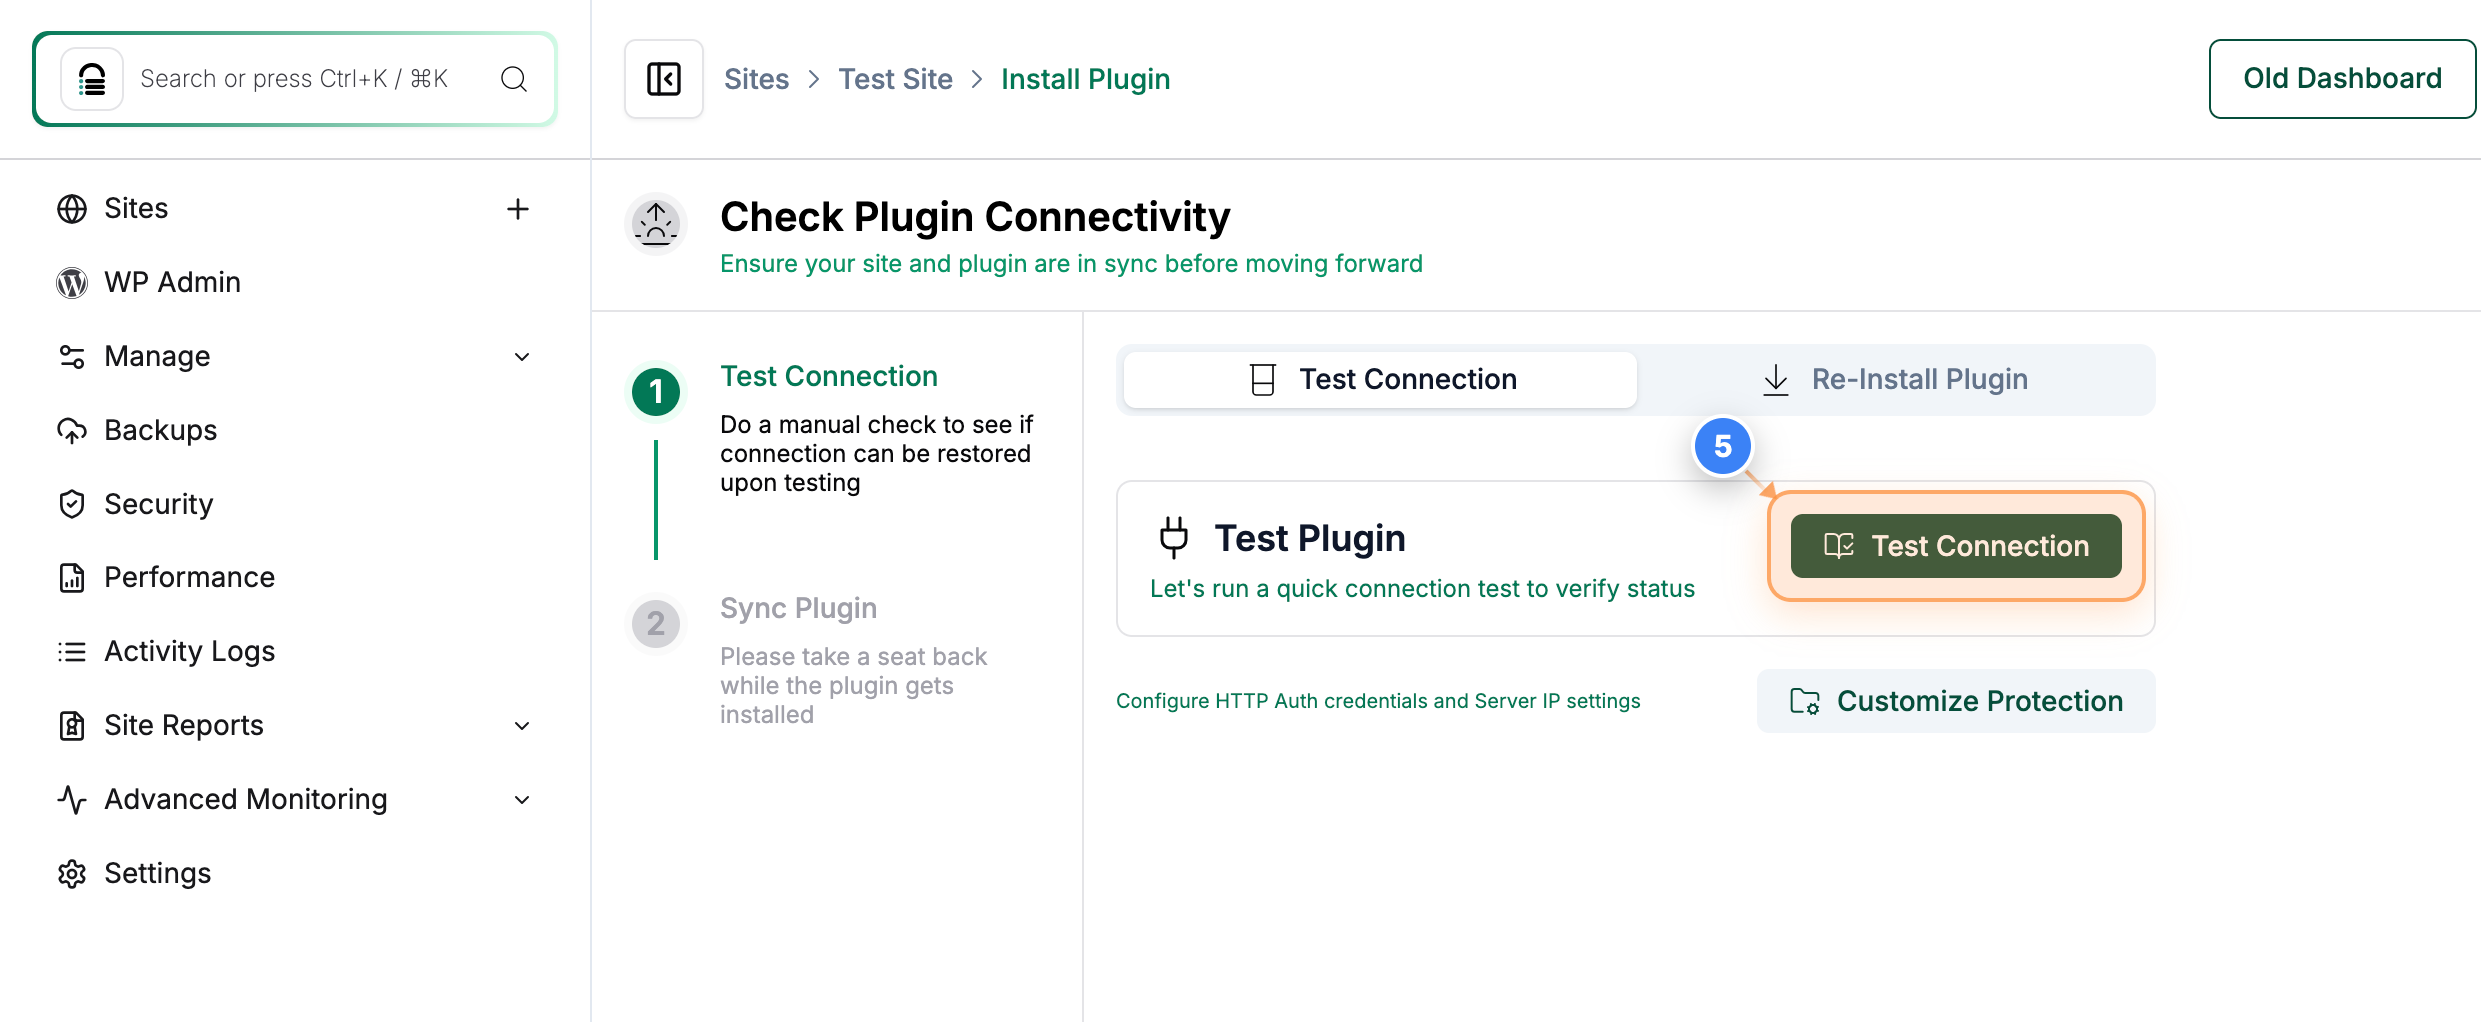
Run Plugin Connection Test
Click the "Test Connection" button in the center of the page to verify that the plugin is correctly connected to your site.
Note: This step ensures that the Plugin can communicate with your WordPress site before syncing data.
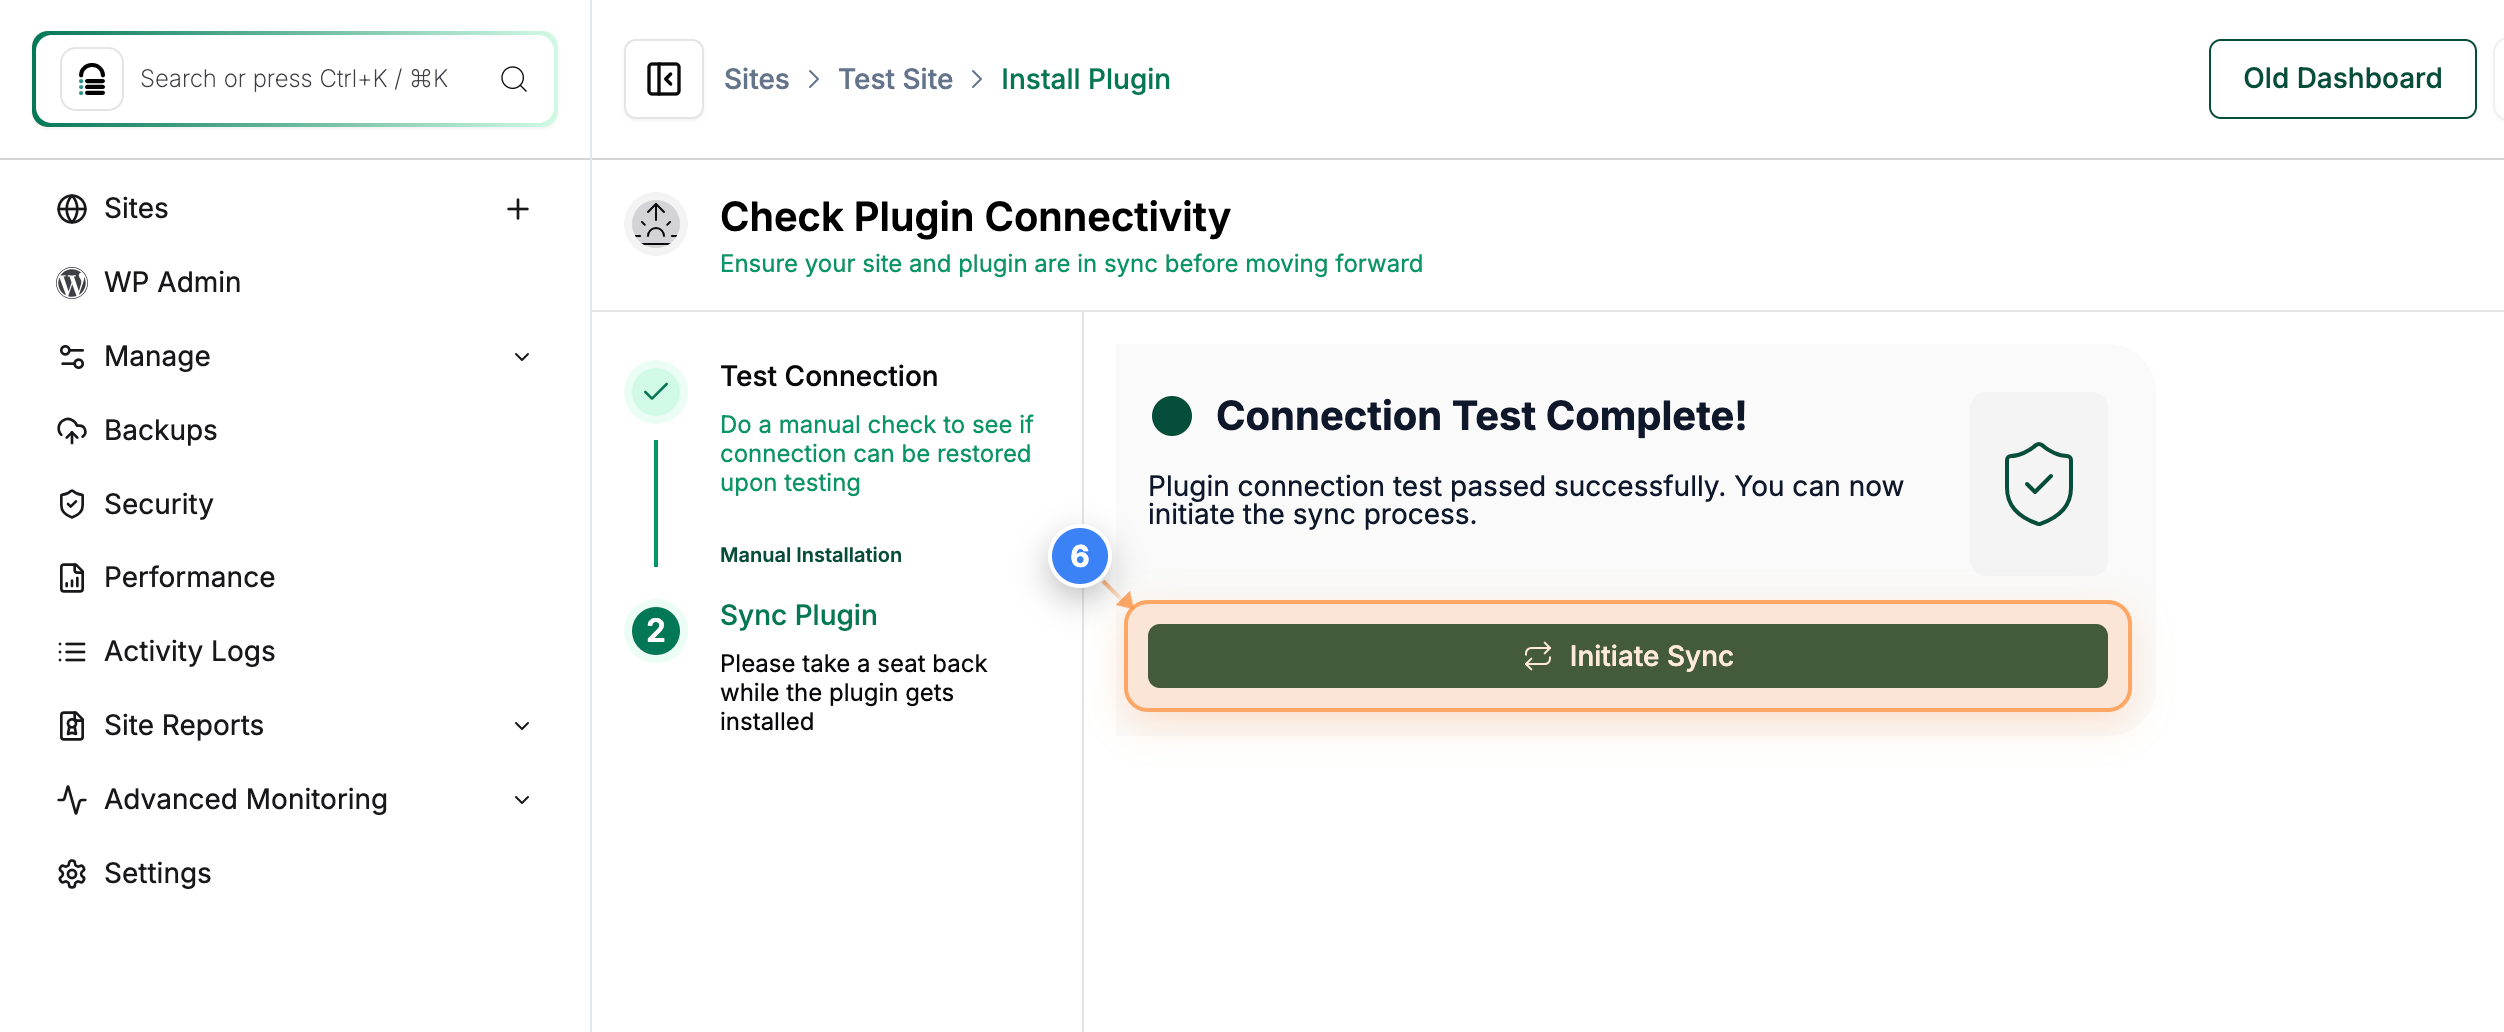
Step 6 of 6
Initiate Site Sync
Click the "Initiate Sync" button in the center of the page to start syncing your site data after a successful connection test.
Note: Once the sync begins, the Plugin will securely transfer your site's data to complete the setup.