How Do I Change the Email Address Used for Sending Scheduled Reports?
Step 1 of 6
To change the email ID from which a scheduled report goes out, you would need to first add that email to your list of Outbound emails. Follow this document to add an Outbound email -> Adding New Outbound Email.
Once done, follow the steps below.
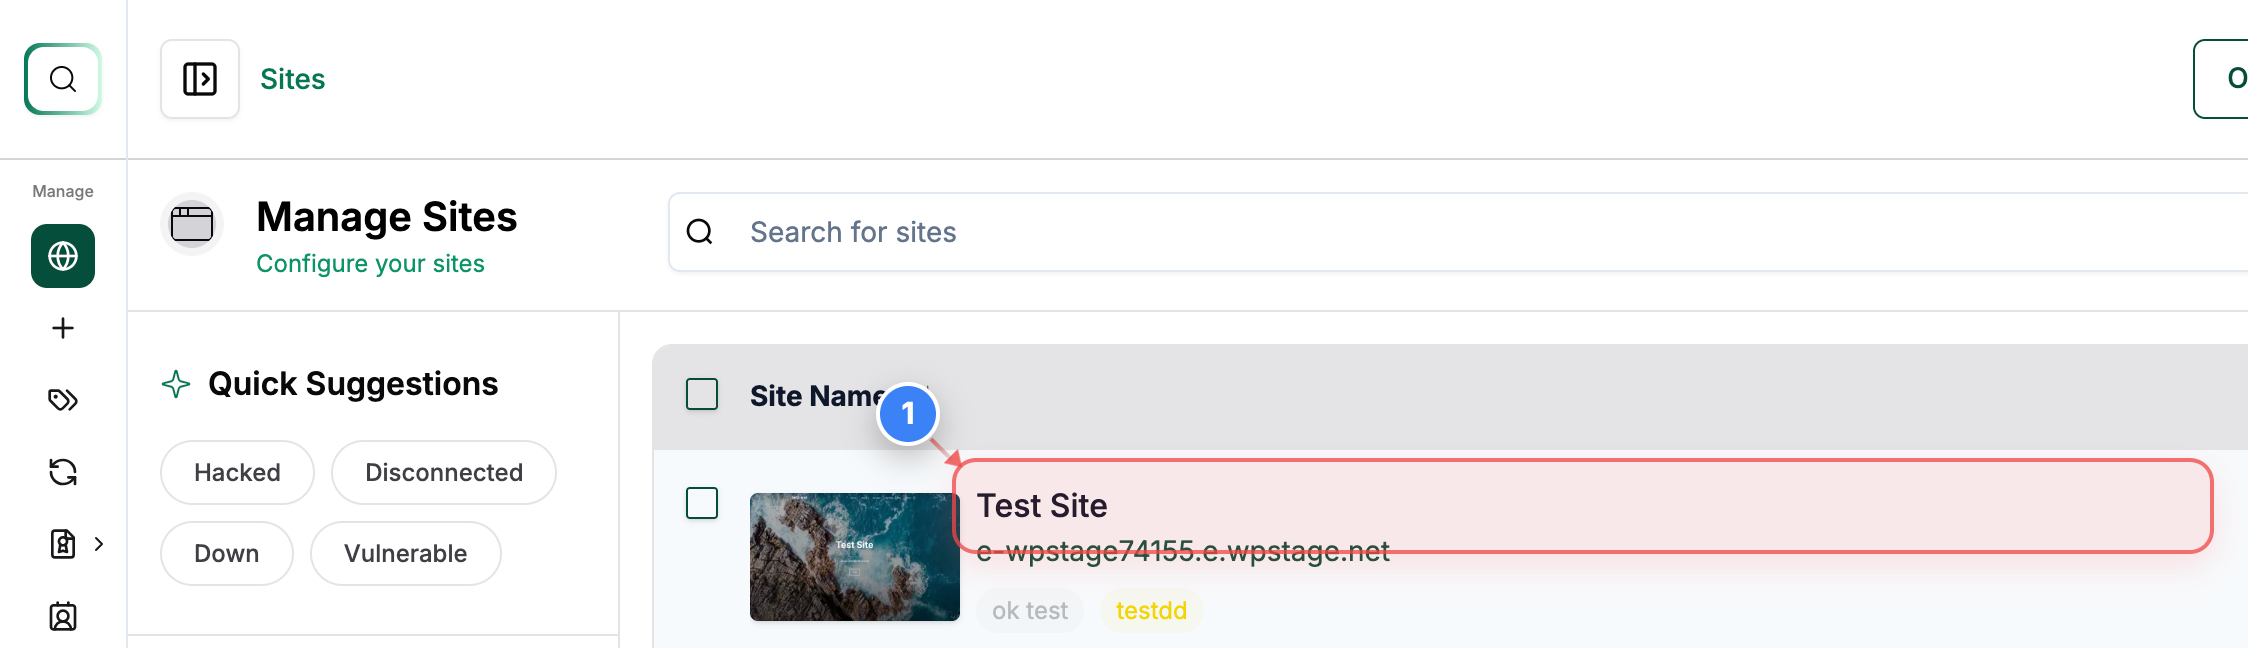
Open Site Details
Click on the Site in the sites list to open its management options.
Step 2 of 6
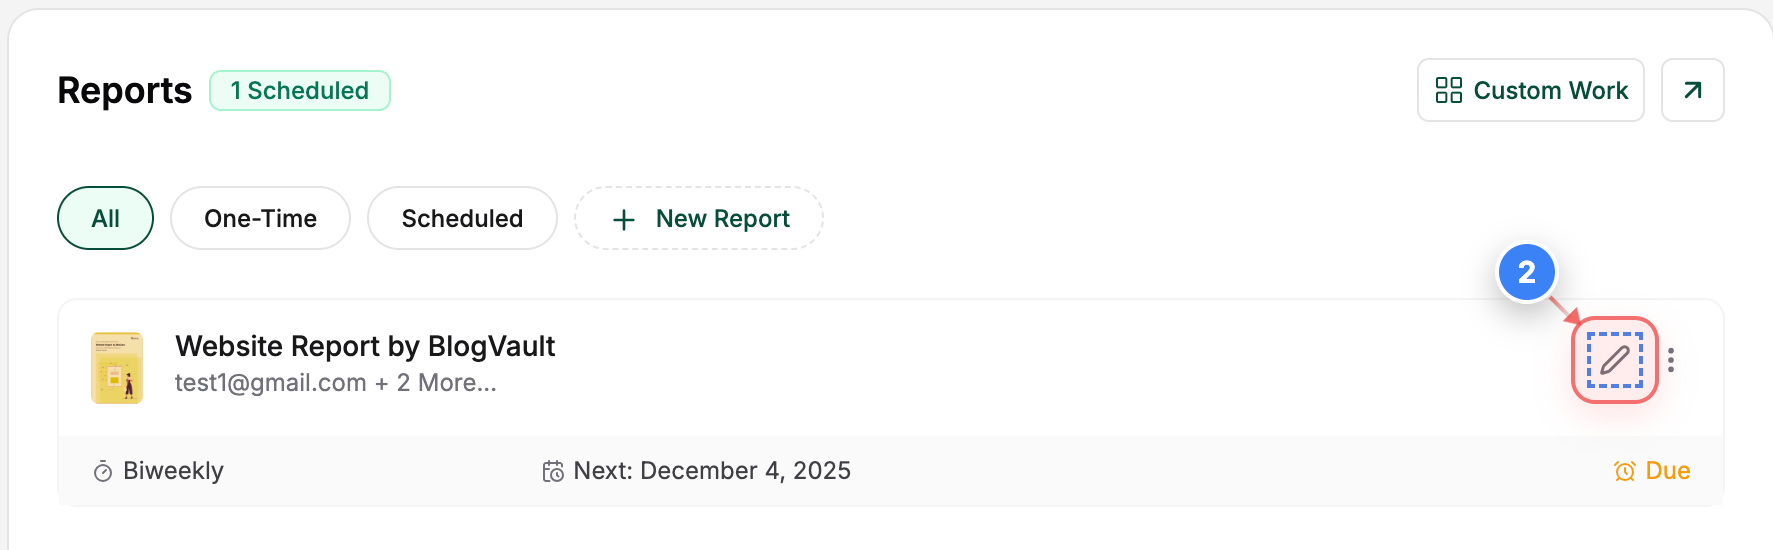
Edit Report Preview
Click the edit icon in the top-right panel to edit the current report in the site settings.
Step 3 of 6
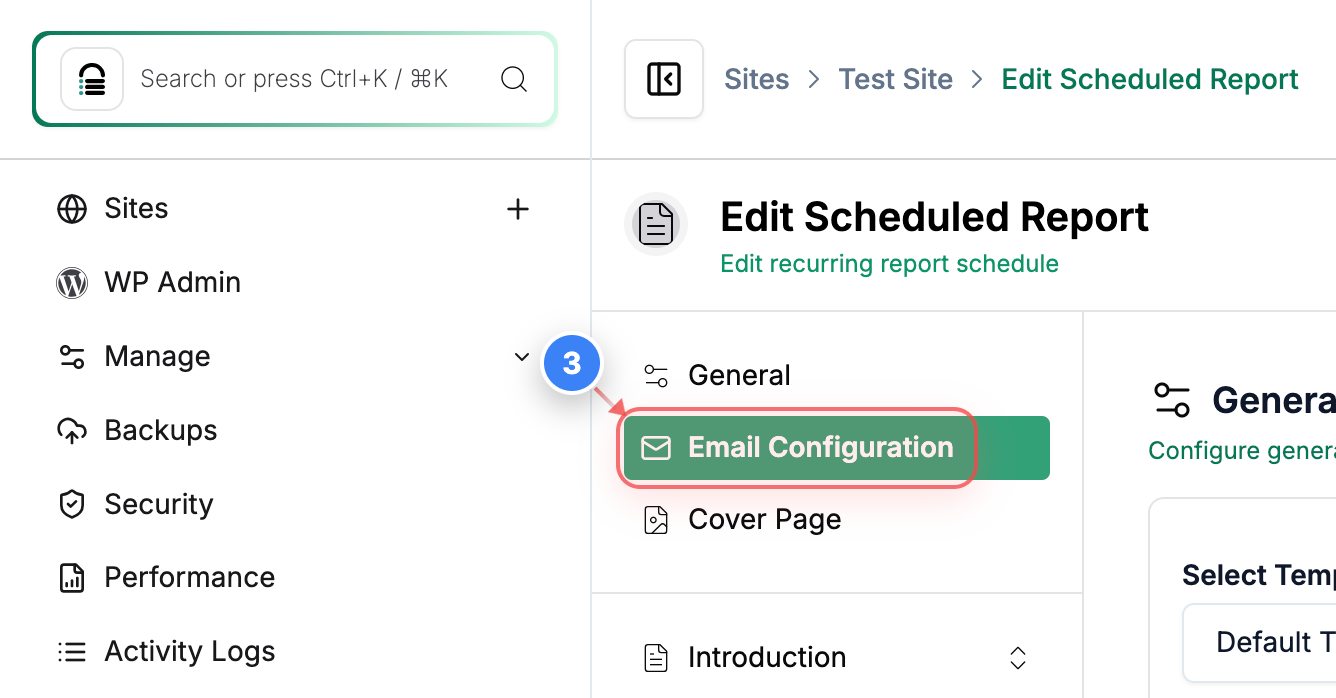
Open Email Configuration
Select the Email Configuration option in the left settings panel to edit email-related settings for the scheduled report.
Step 4 of 6
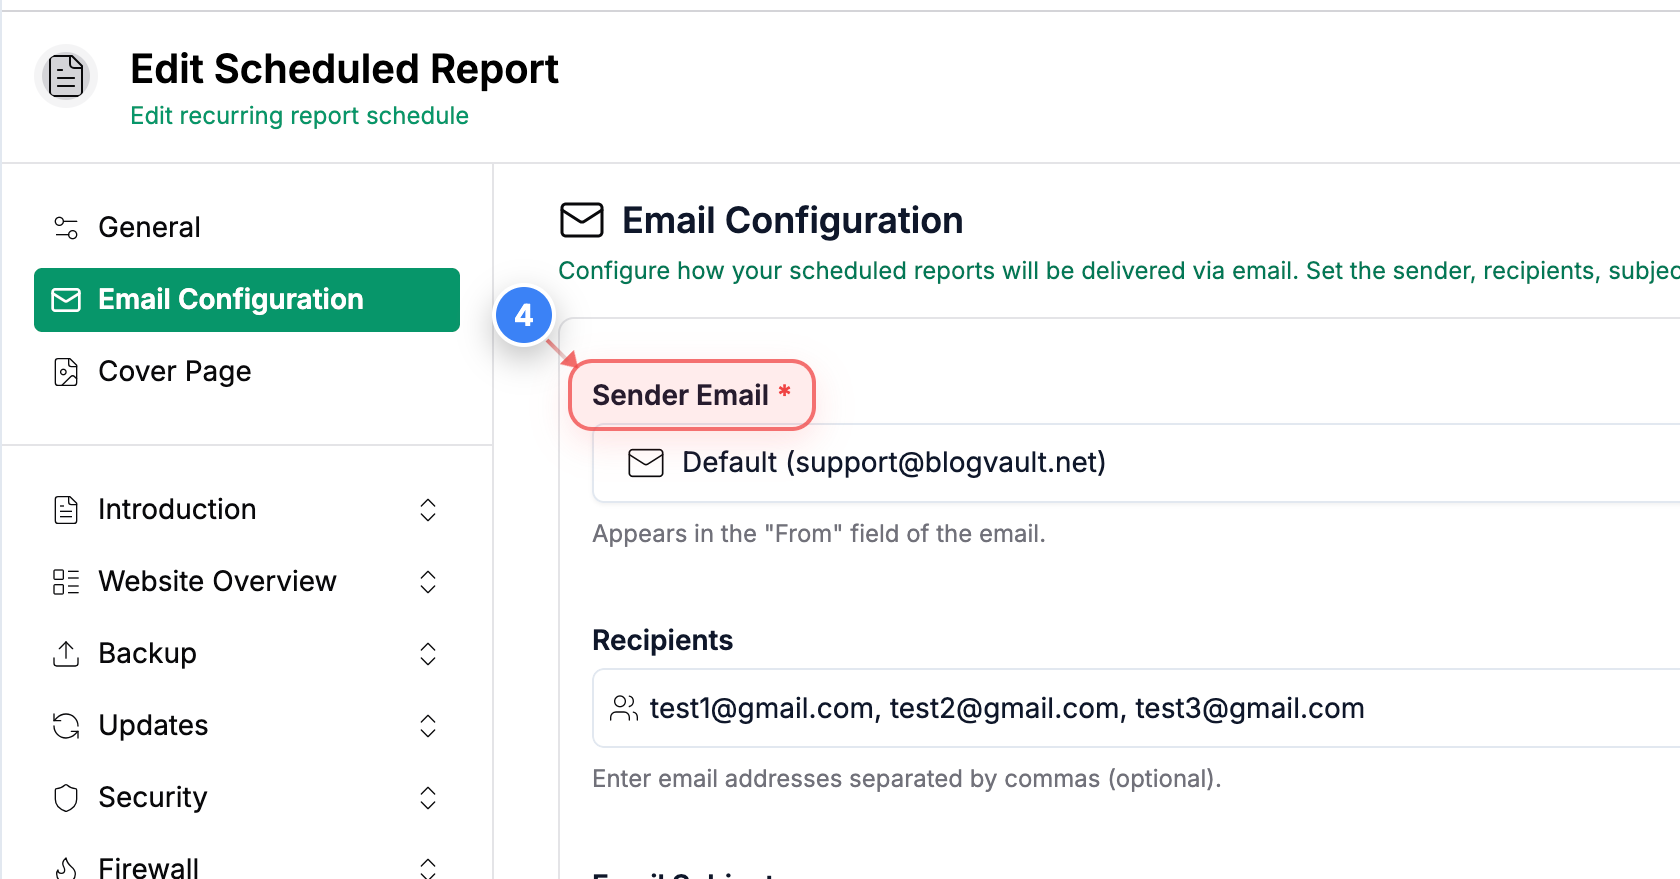
Select Sender Email
Select the Sender Email from the drop-down field in the Email Configuration section to choose the email address used to send scheduled reports.
Step 5 of 6
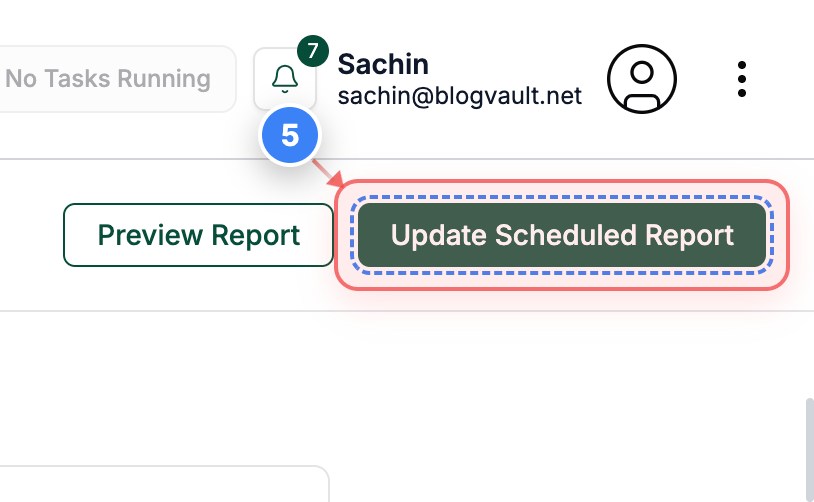
Save Report Changes
Click the Update Scheduled Report button in the top-right area to save your email configuration updates.
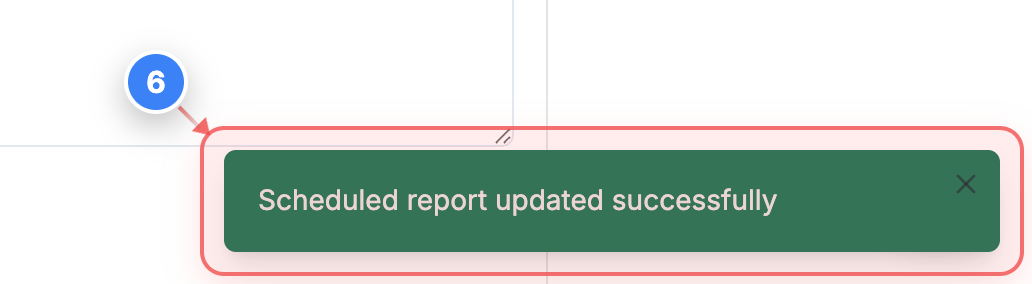
Step 6 of 6
Update Confirmation
You will see the confirmation message at the bottom-right indicating that the scheduled report was updated successfully.