How Do I Selectively Migrate Only Specific Website Files or Database Tables?
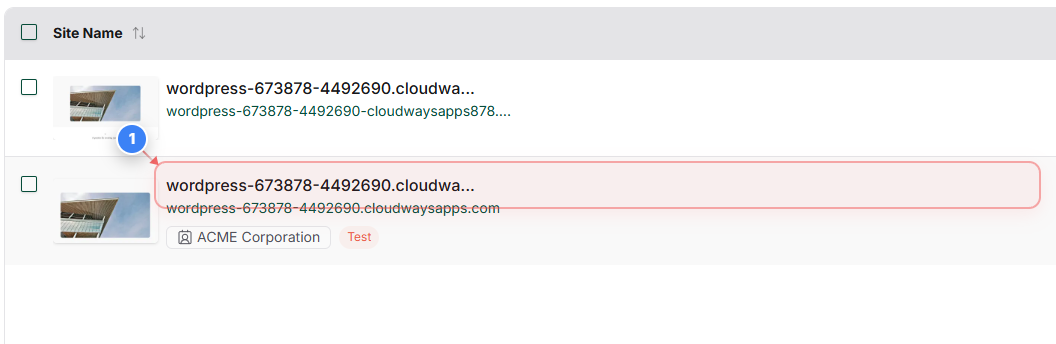
Step 1 of 20
Select Your Site
Click your site from the sites list to open its dashboard.
Note: Ensure you select the correct site if multiple sites are listed.
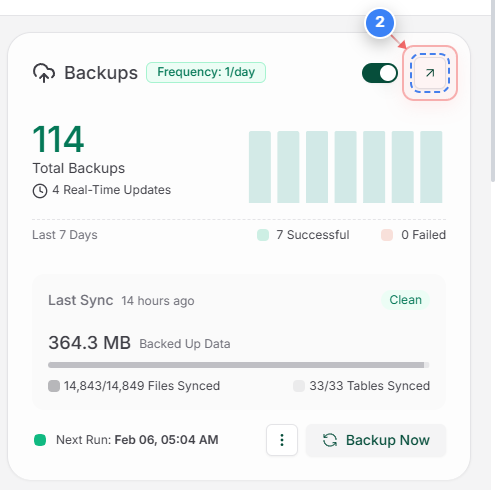
Step 2 of 20
Open Backups Section
Click Backups in the top-right area to access backup settings and history.
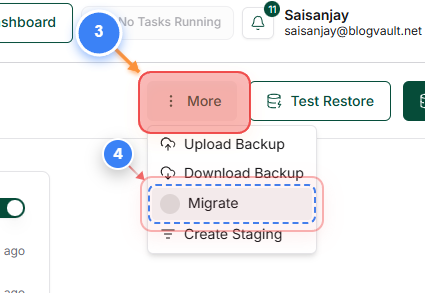
Step 3, 4 of 20
Start Migration
Use the three-dot button(Step 3) and click Migrate(Step 4) from the top-right menu to begin the migration process.
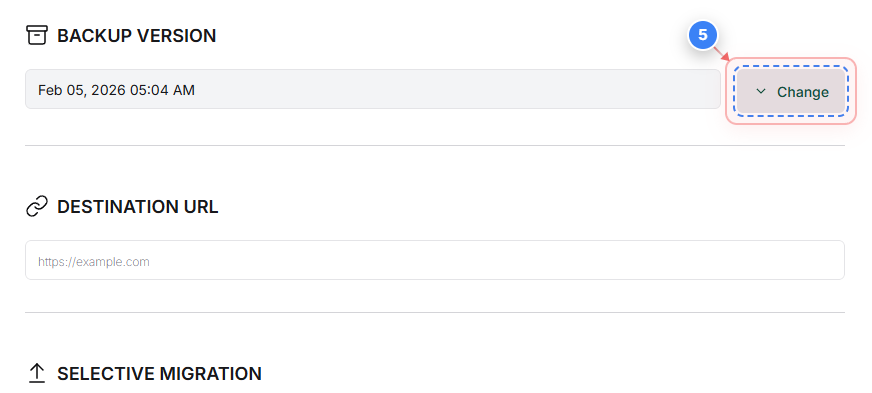
Step 5 of 20
Choose Backup Version
Click the backup version selector and choose a desired backup.
Note: Use this if you want to migrate from an older or specific backup.
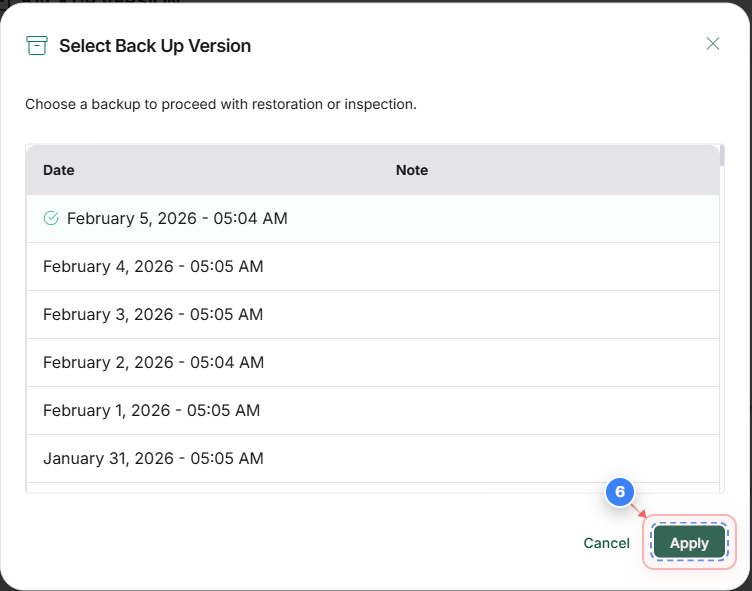
Step 6 of 20
Apply Backup Selection
Click Apply to confirm the selected backup version.
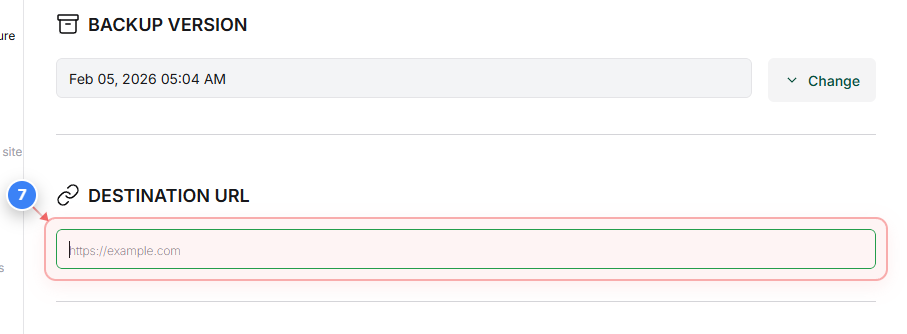
Step 7 of 20
Enter Destination URL
Enter the destination site URL where the backup will be migrated.
Note: Ensure the URL is correct and accessible.
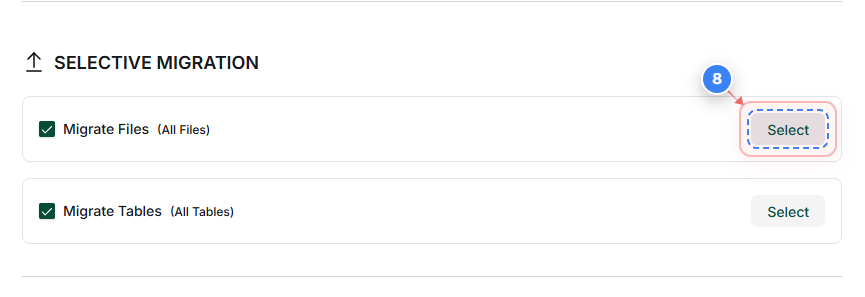
Step 8 of 20
Select Files for Migration
Click Select to review and confirm files to migrate.
Note: By default, all files are selected.
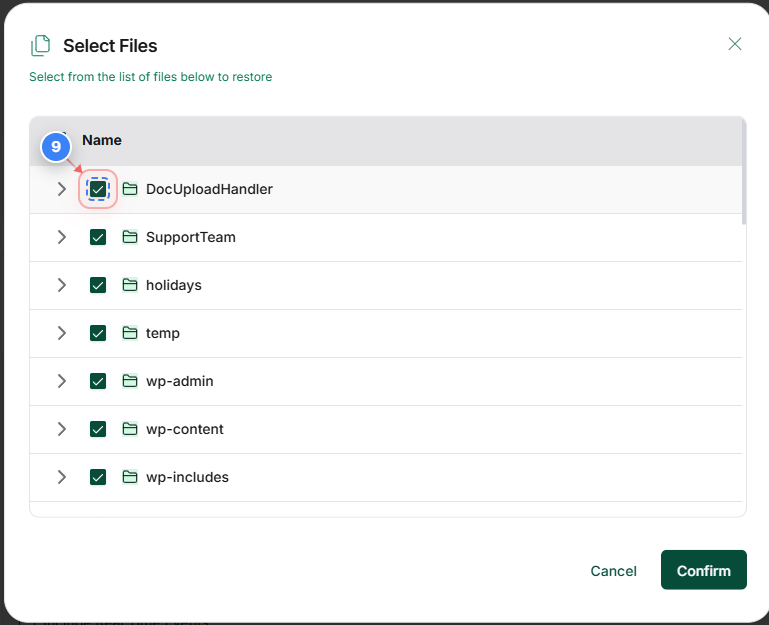
Step 9 of 20
Select required Files/Director.ies
Use the Checkbox to select the desired files and directories you would like to selectively migrate.
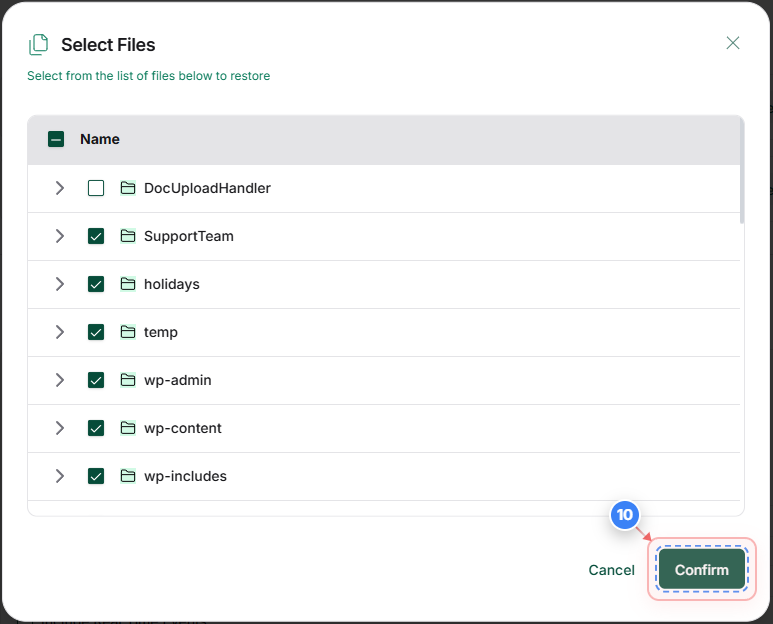
Step 10 of 20
Confirm Files
Click Confirm to finalize the selected files.
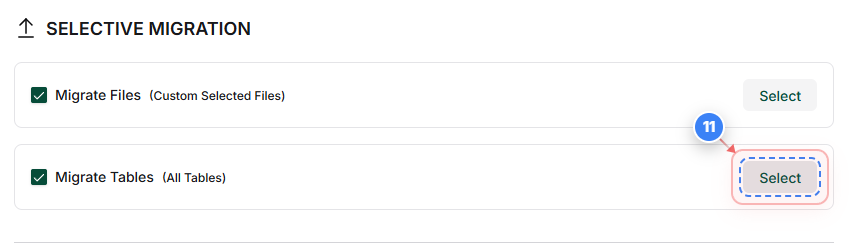
Step 11 of 20
Select Database Tables
Click Select to choose database tables for migration.
Note: All tables are selected by default unless customized.
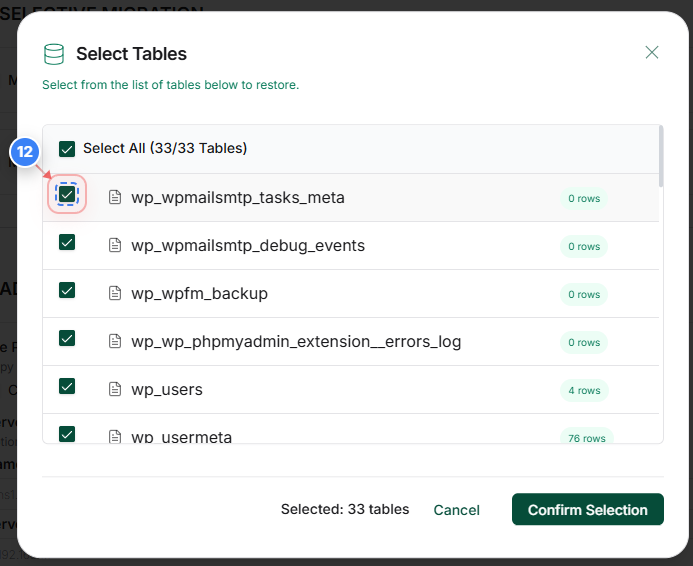
Step 12 of 20
Select required database tables
Use the Checkbox to select the desired database tables you would like to selectively migrate.
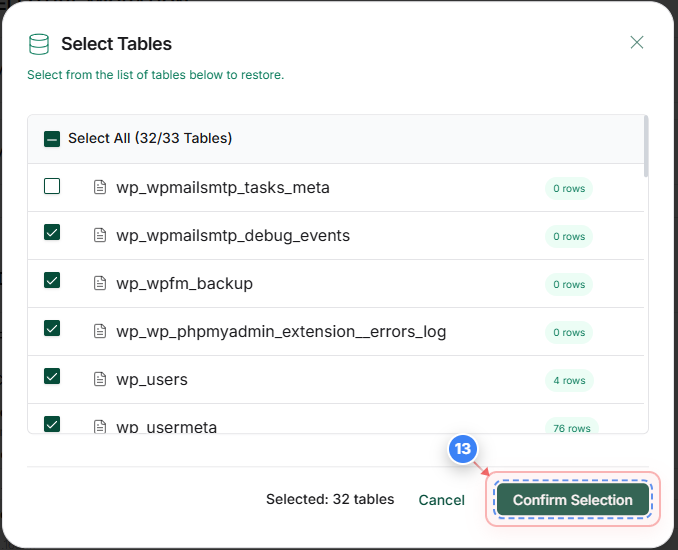
Step 13 of 20
Confirm Tables
Click Confirm Selection to finalize the selected database tables.
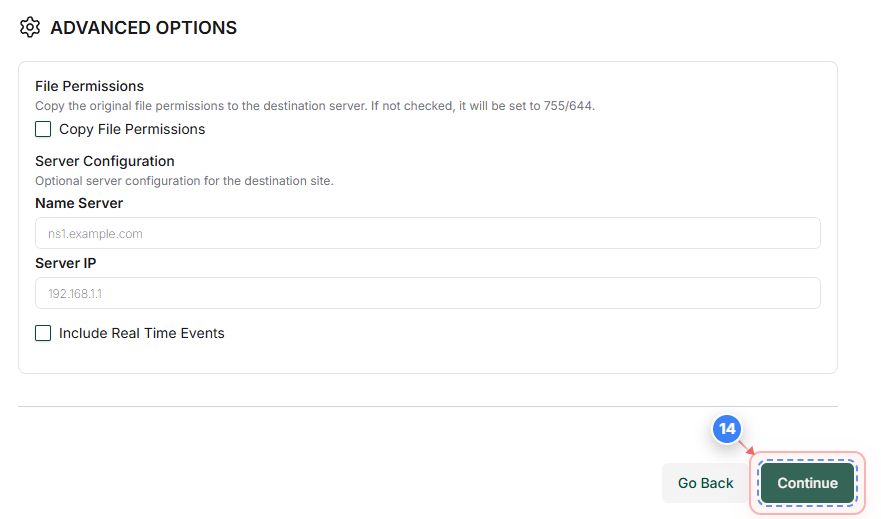
Step 14 of 20
Proceed to Connection
Click Continue to move to the server connection setup.
Note: Use advanced options and enter the new server IP if you wish to skip the existing DNS server IP and wish to migrate the site to a new server.
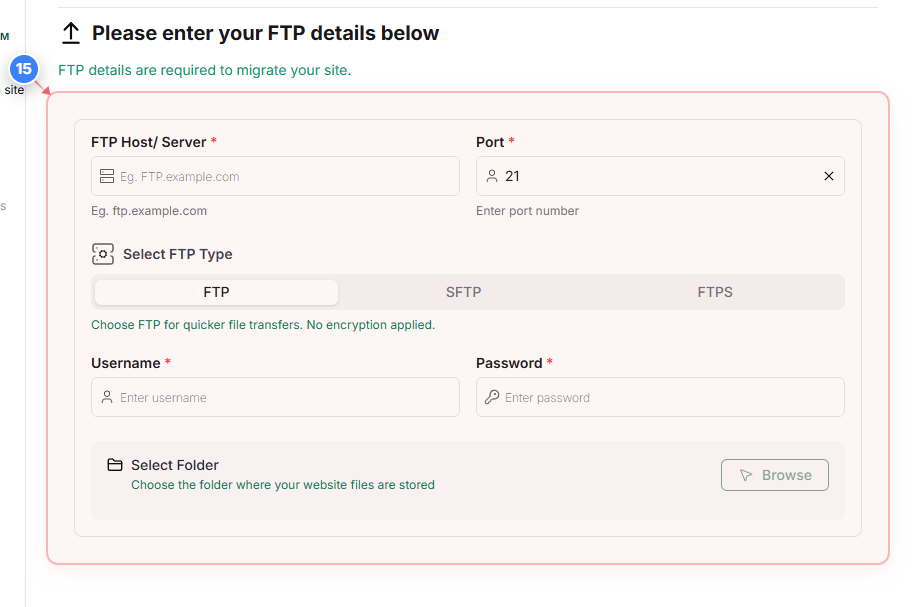
Step 15 of 20
Enter FTP Details
Provide the FTP host or server details for the destination site.
Note: These credentials must have write access to the destination directory.
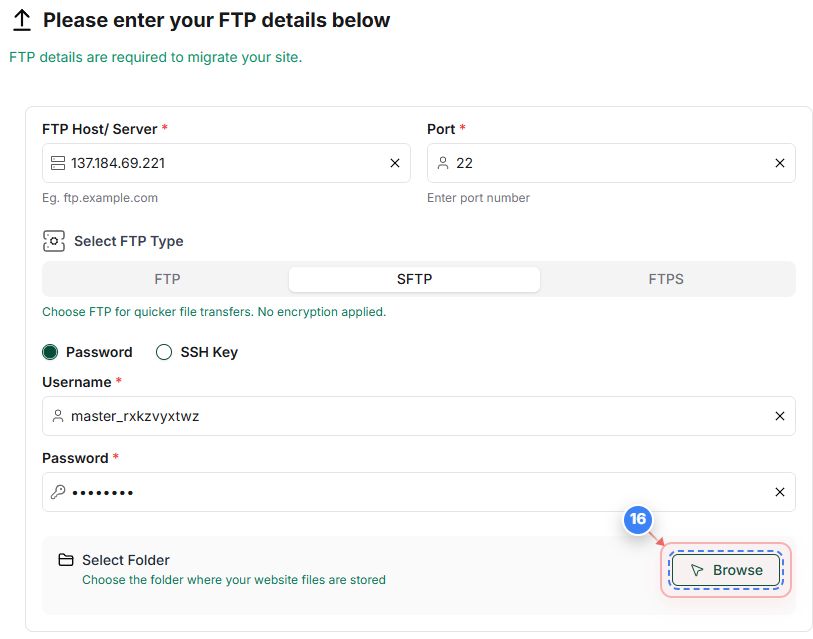
Step 16 of 20
Browse Destination Folder
Click Browse to select the destination folder for website files.
Note: Choose the root folder where WordPress is installed.
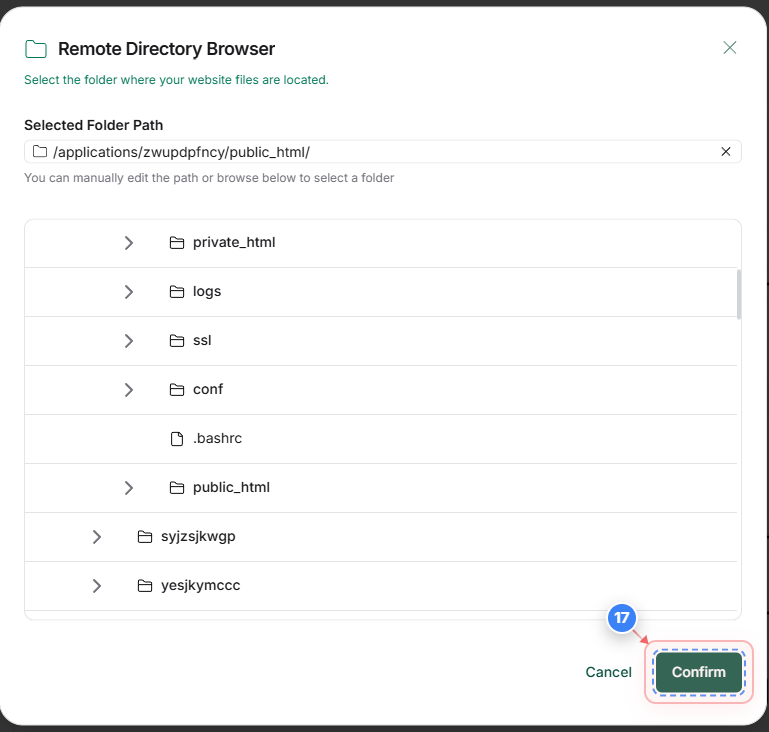
Step 17 of 20
Confirm directory
Select the correct destination path and click Confirm to validate the connection and proceed with migration.
Note: The migration will start after successful verification.
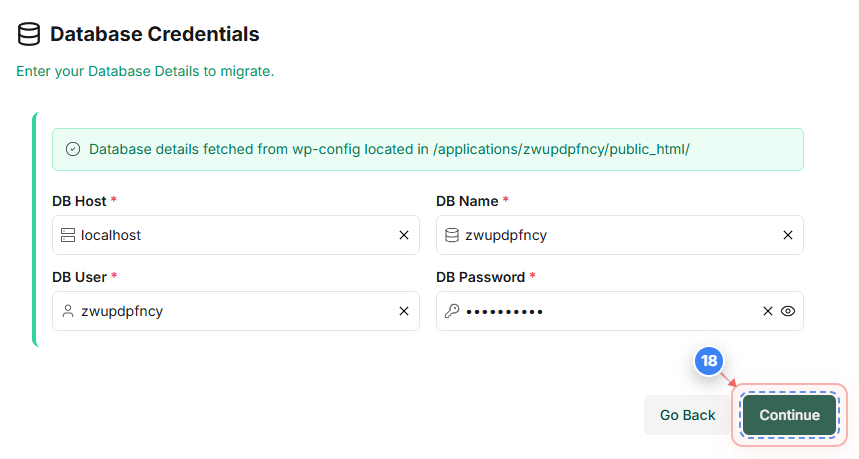
Step 18 of 20
The database credentials are automatically fetched. You can also manually enter the database credentials if required. Click on the "Continue" button in the lower area (located in the bottom center of the page)
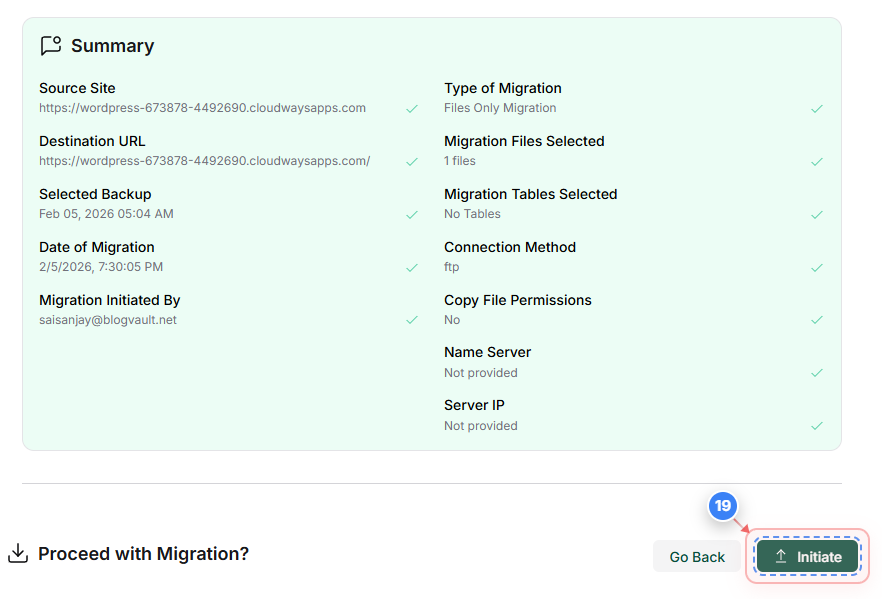
Step 19 of 20
Click on the initiate migration button to start the migration(locatedat the bottom center of the page)
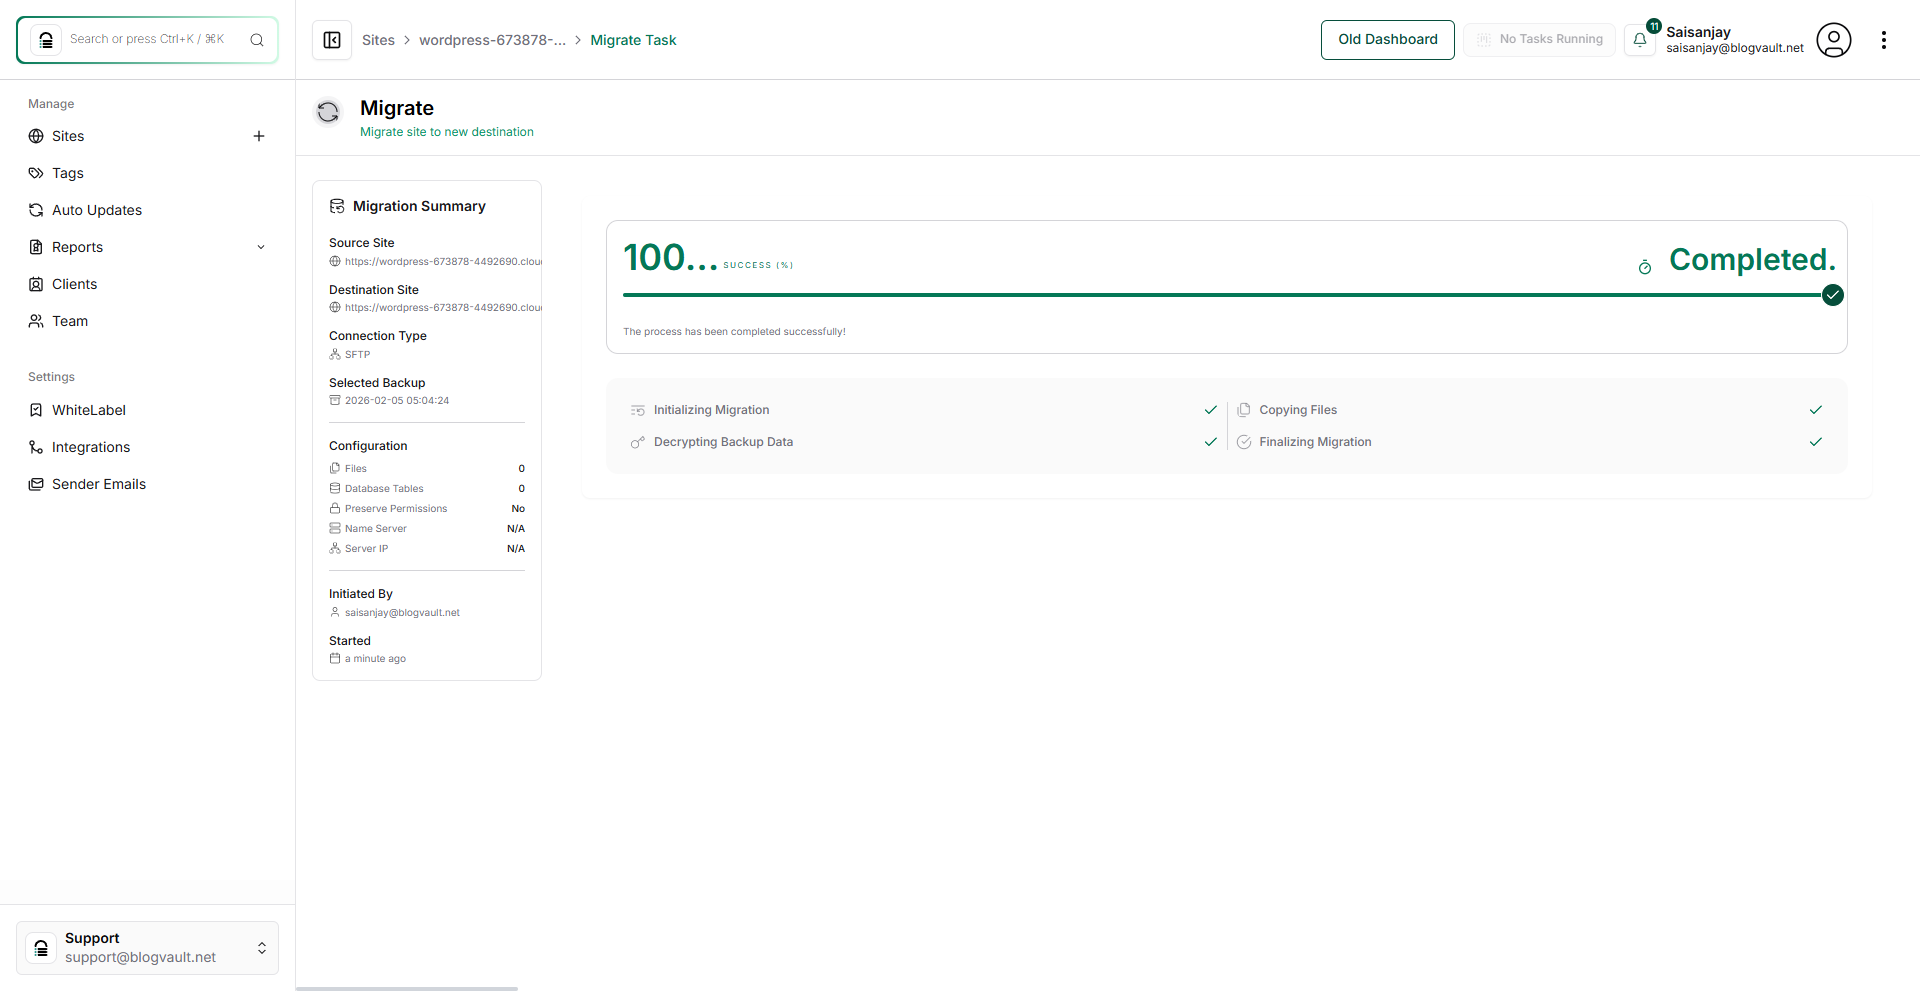
Step 20 of 20
Final page overview showing the result of all completed steps